
So it will use the new content builder
South Course
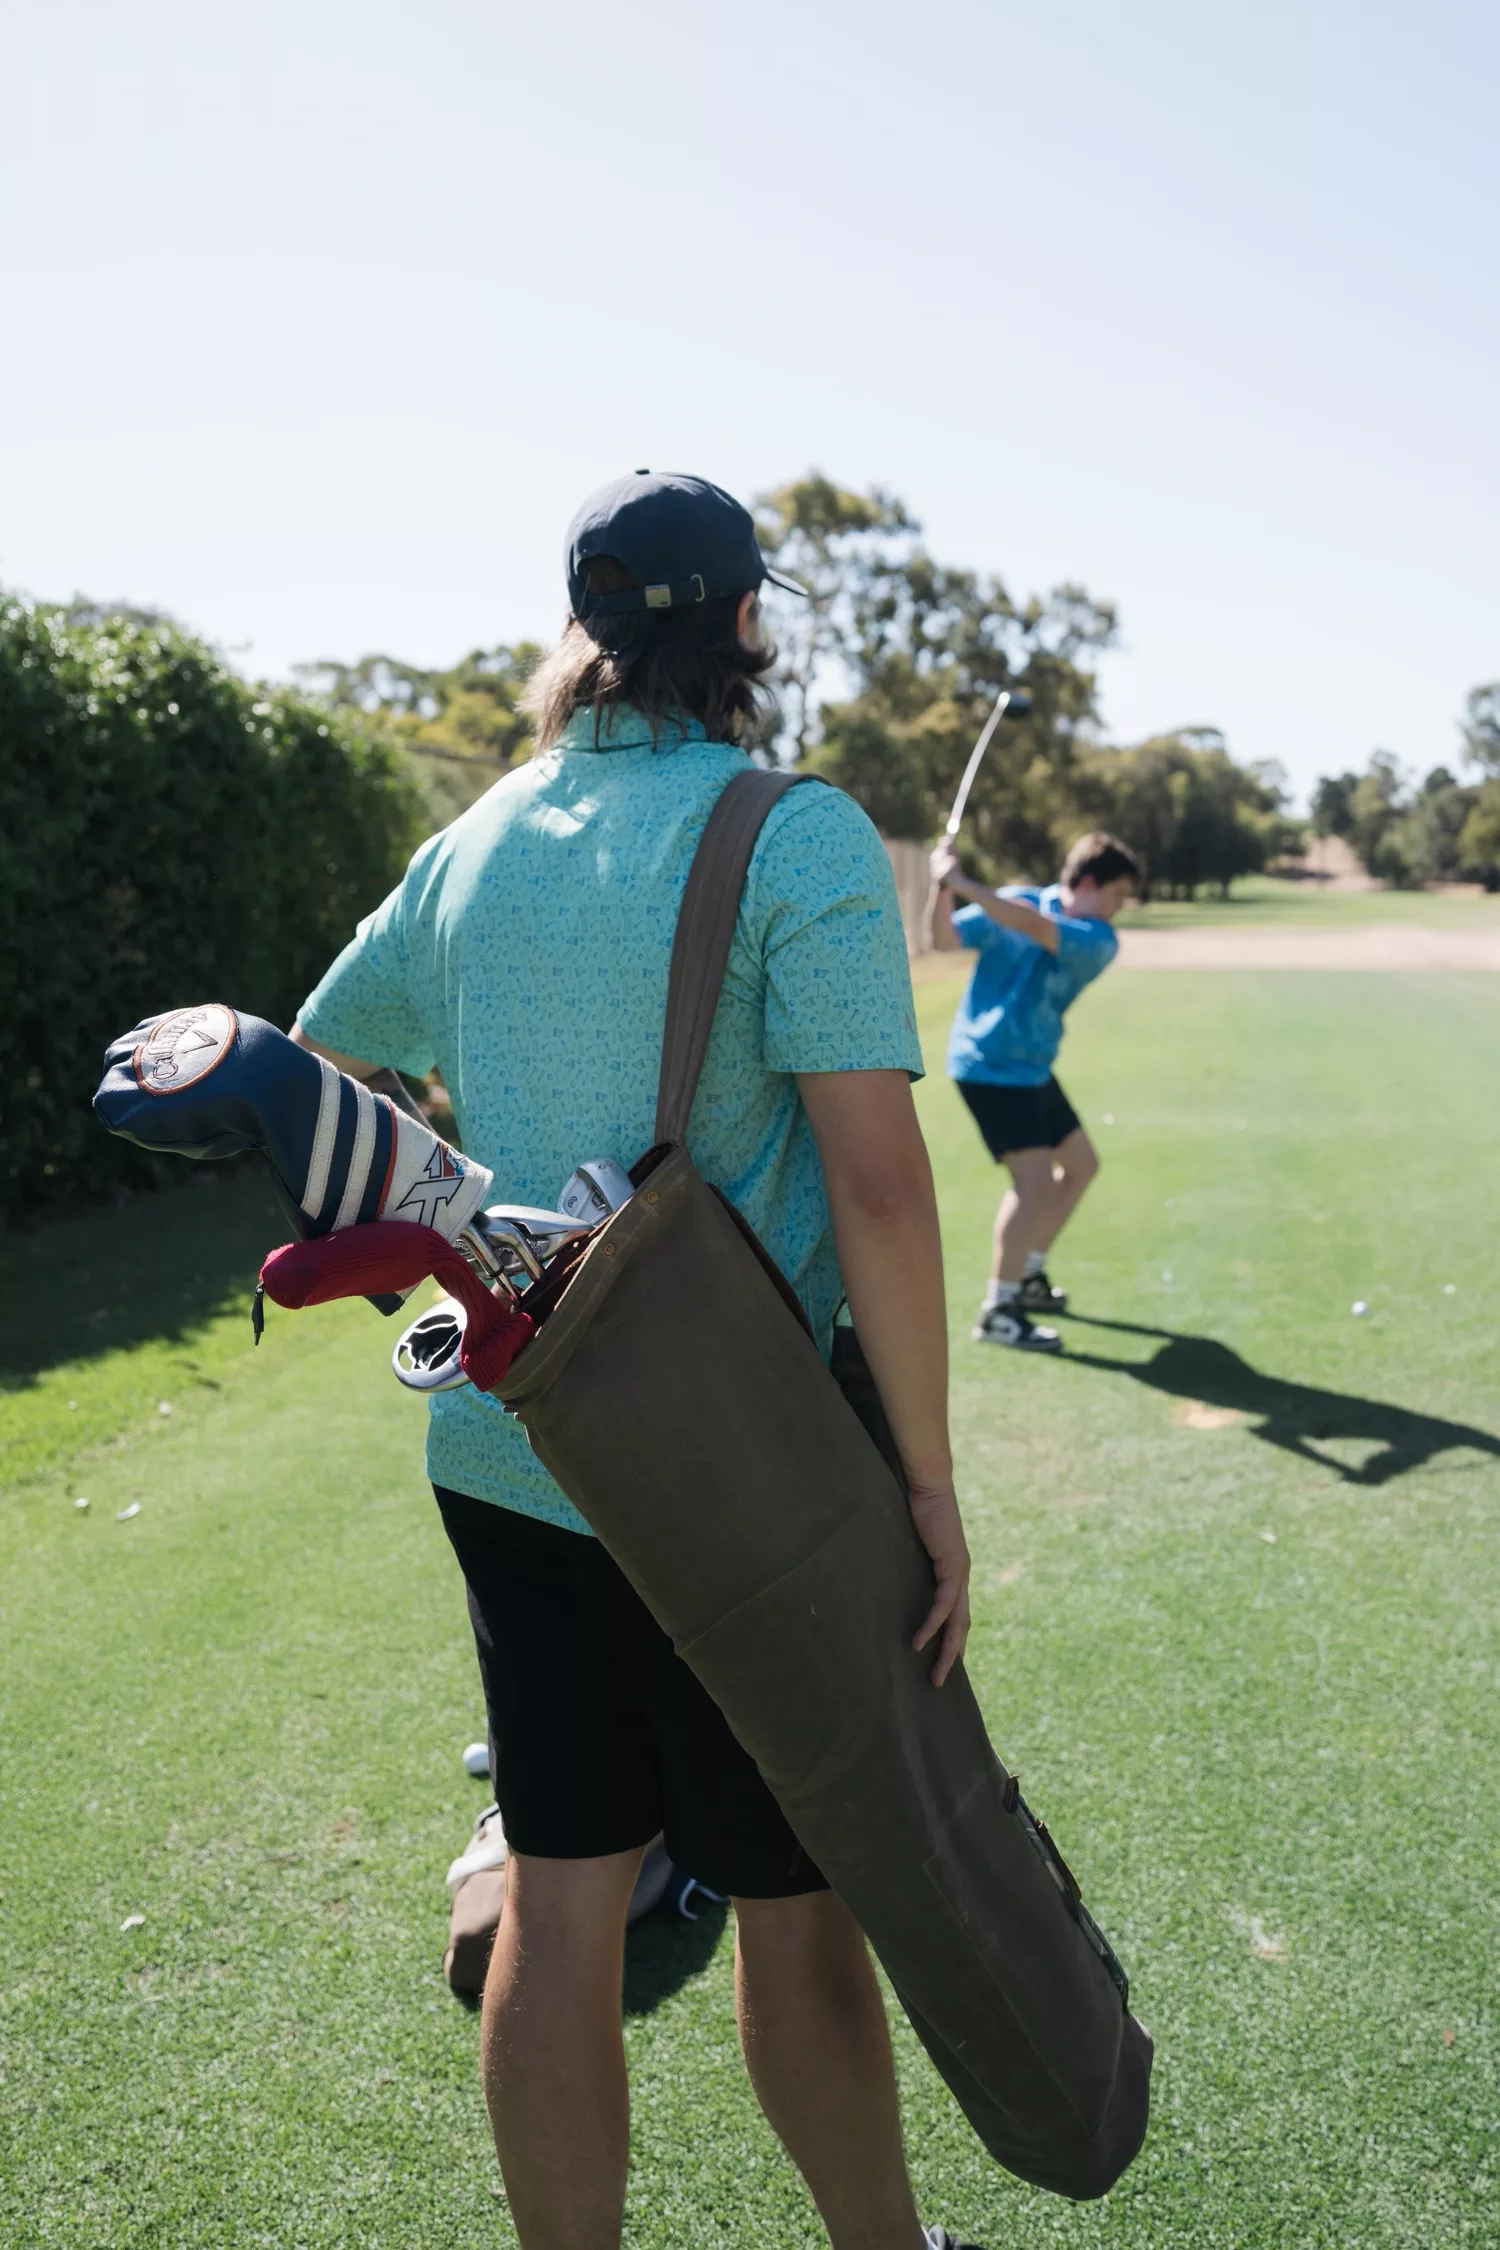
Show them how it's done.
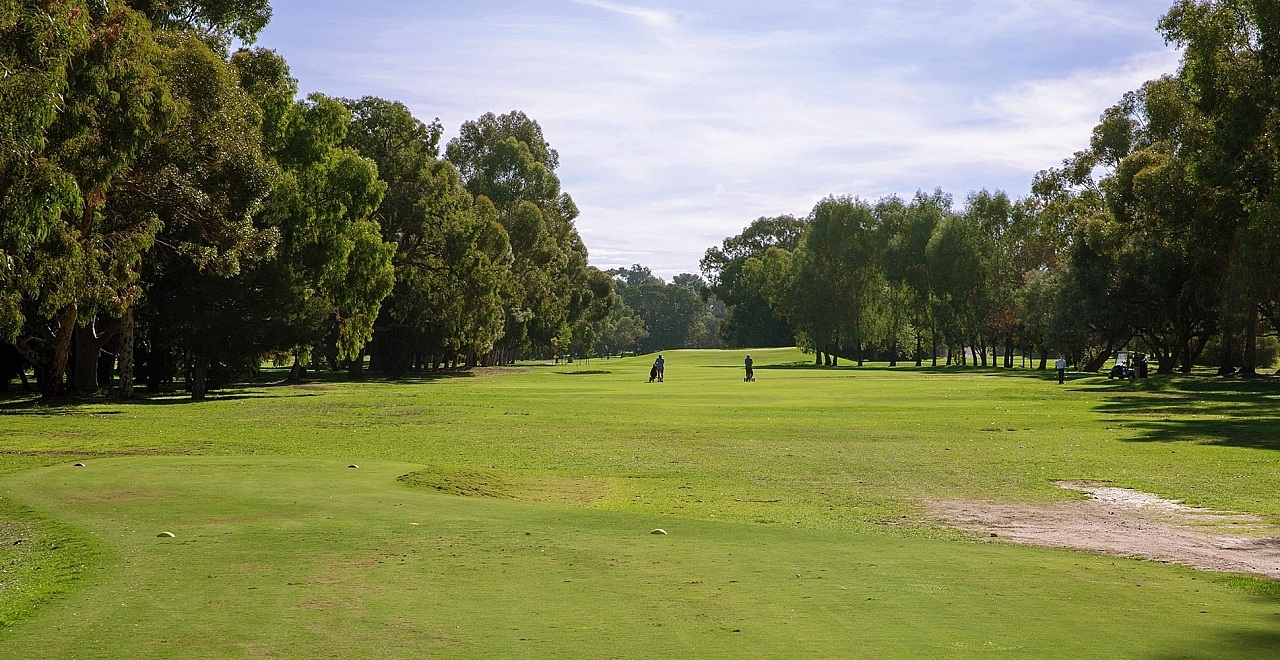
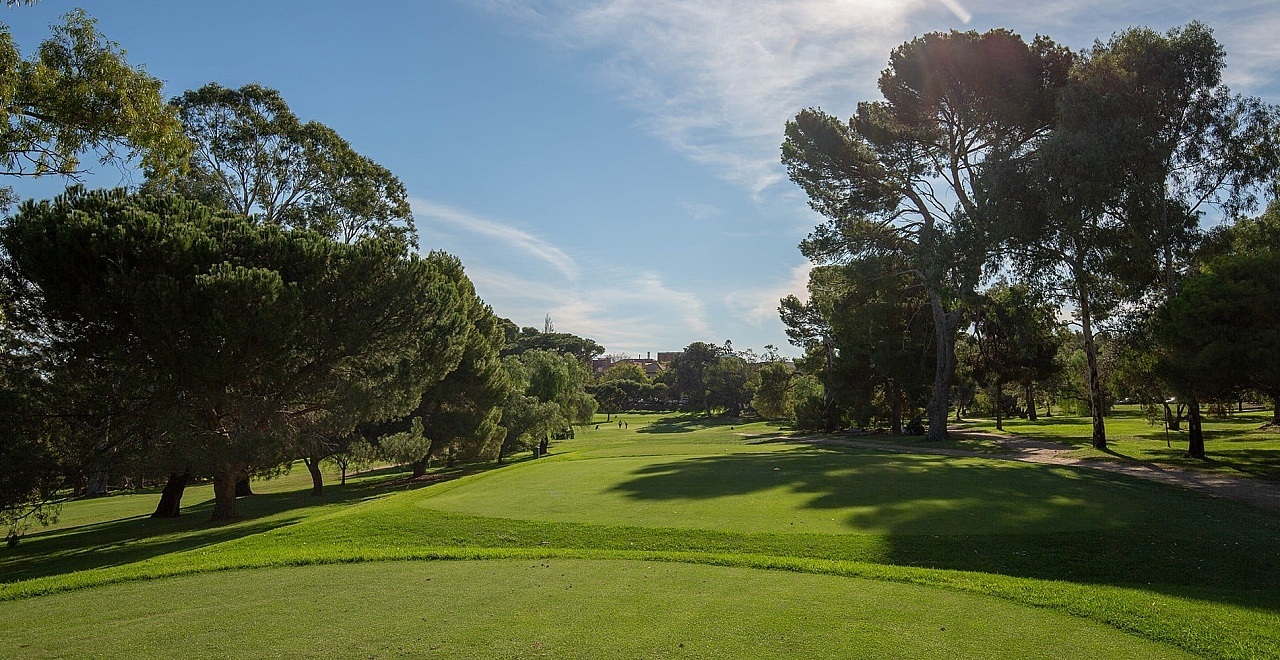
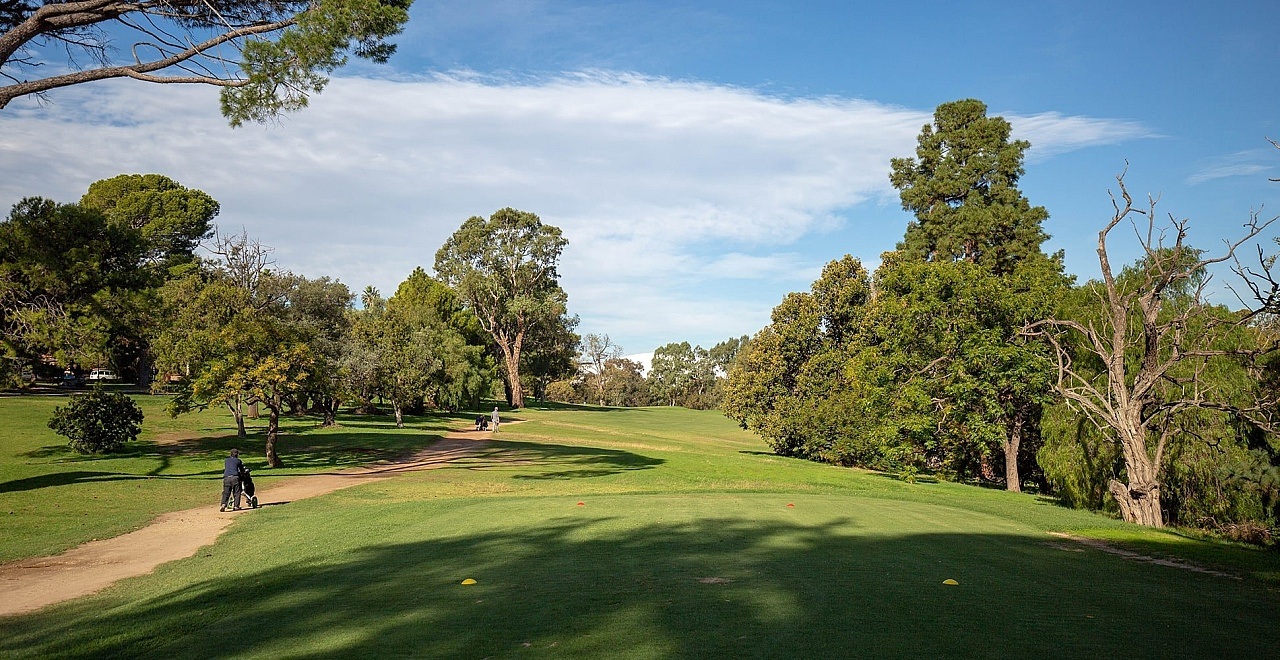
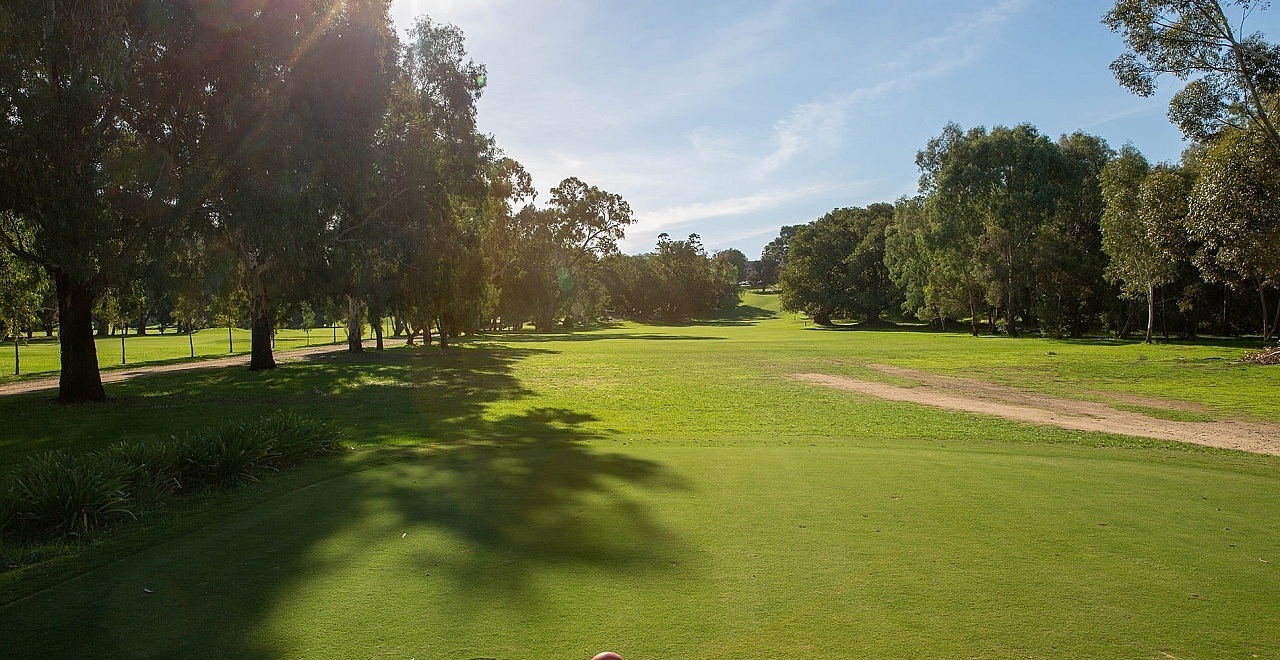
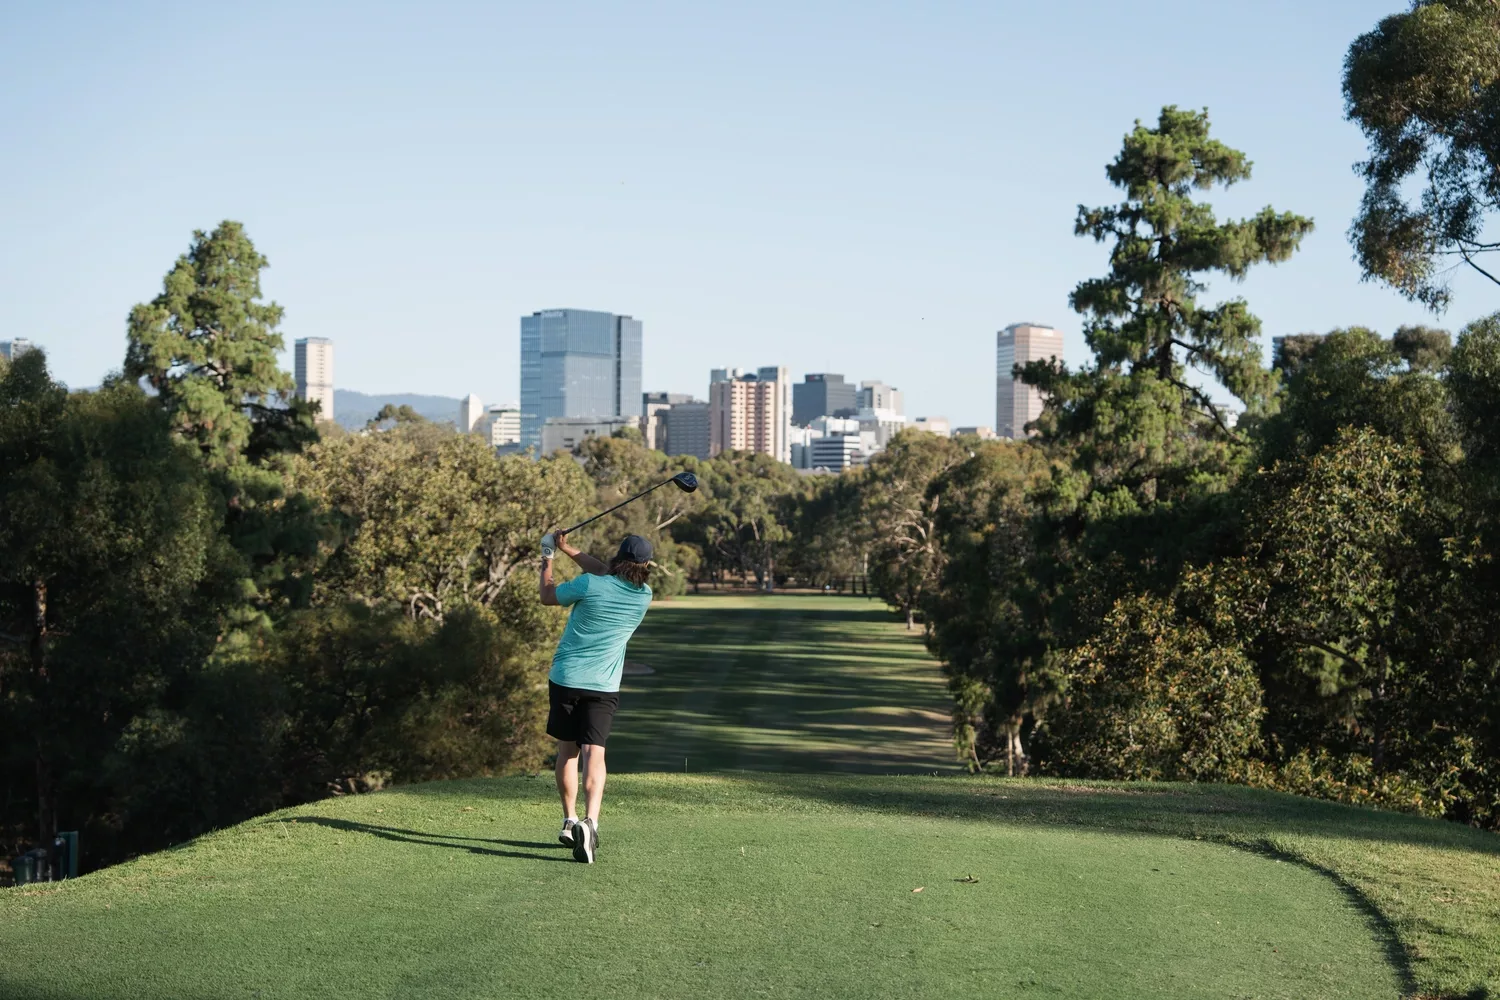
For a challenging layout and a round with a view, the South Course is calling all seasoned players. Let’s play!
5,729 metre course
Guarantees a work-out with enough energy left to knock back a drink while comparing scores.
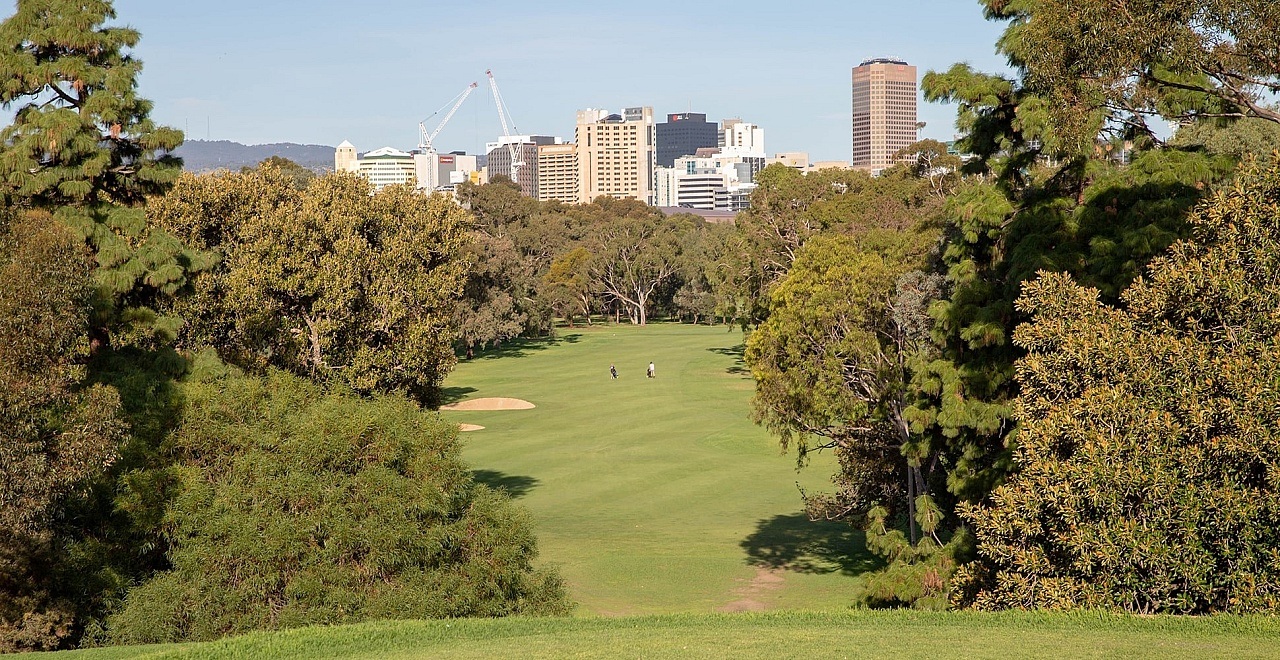
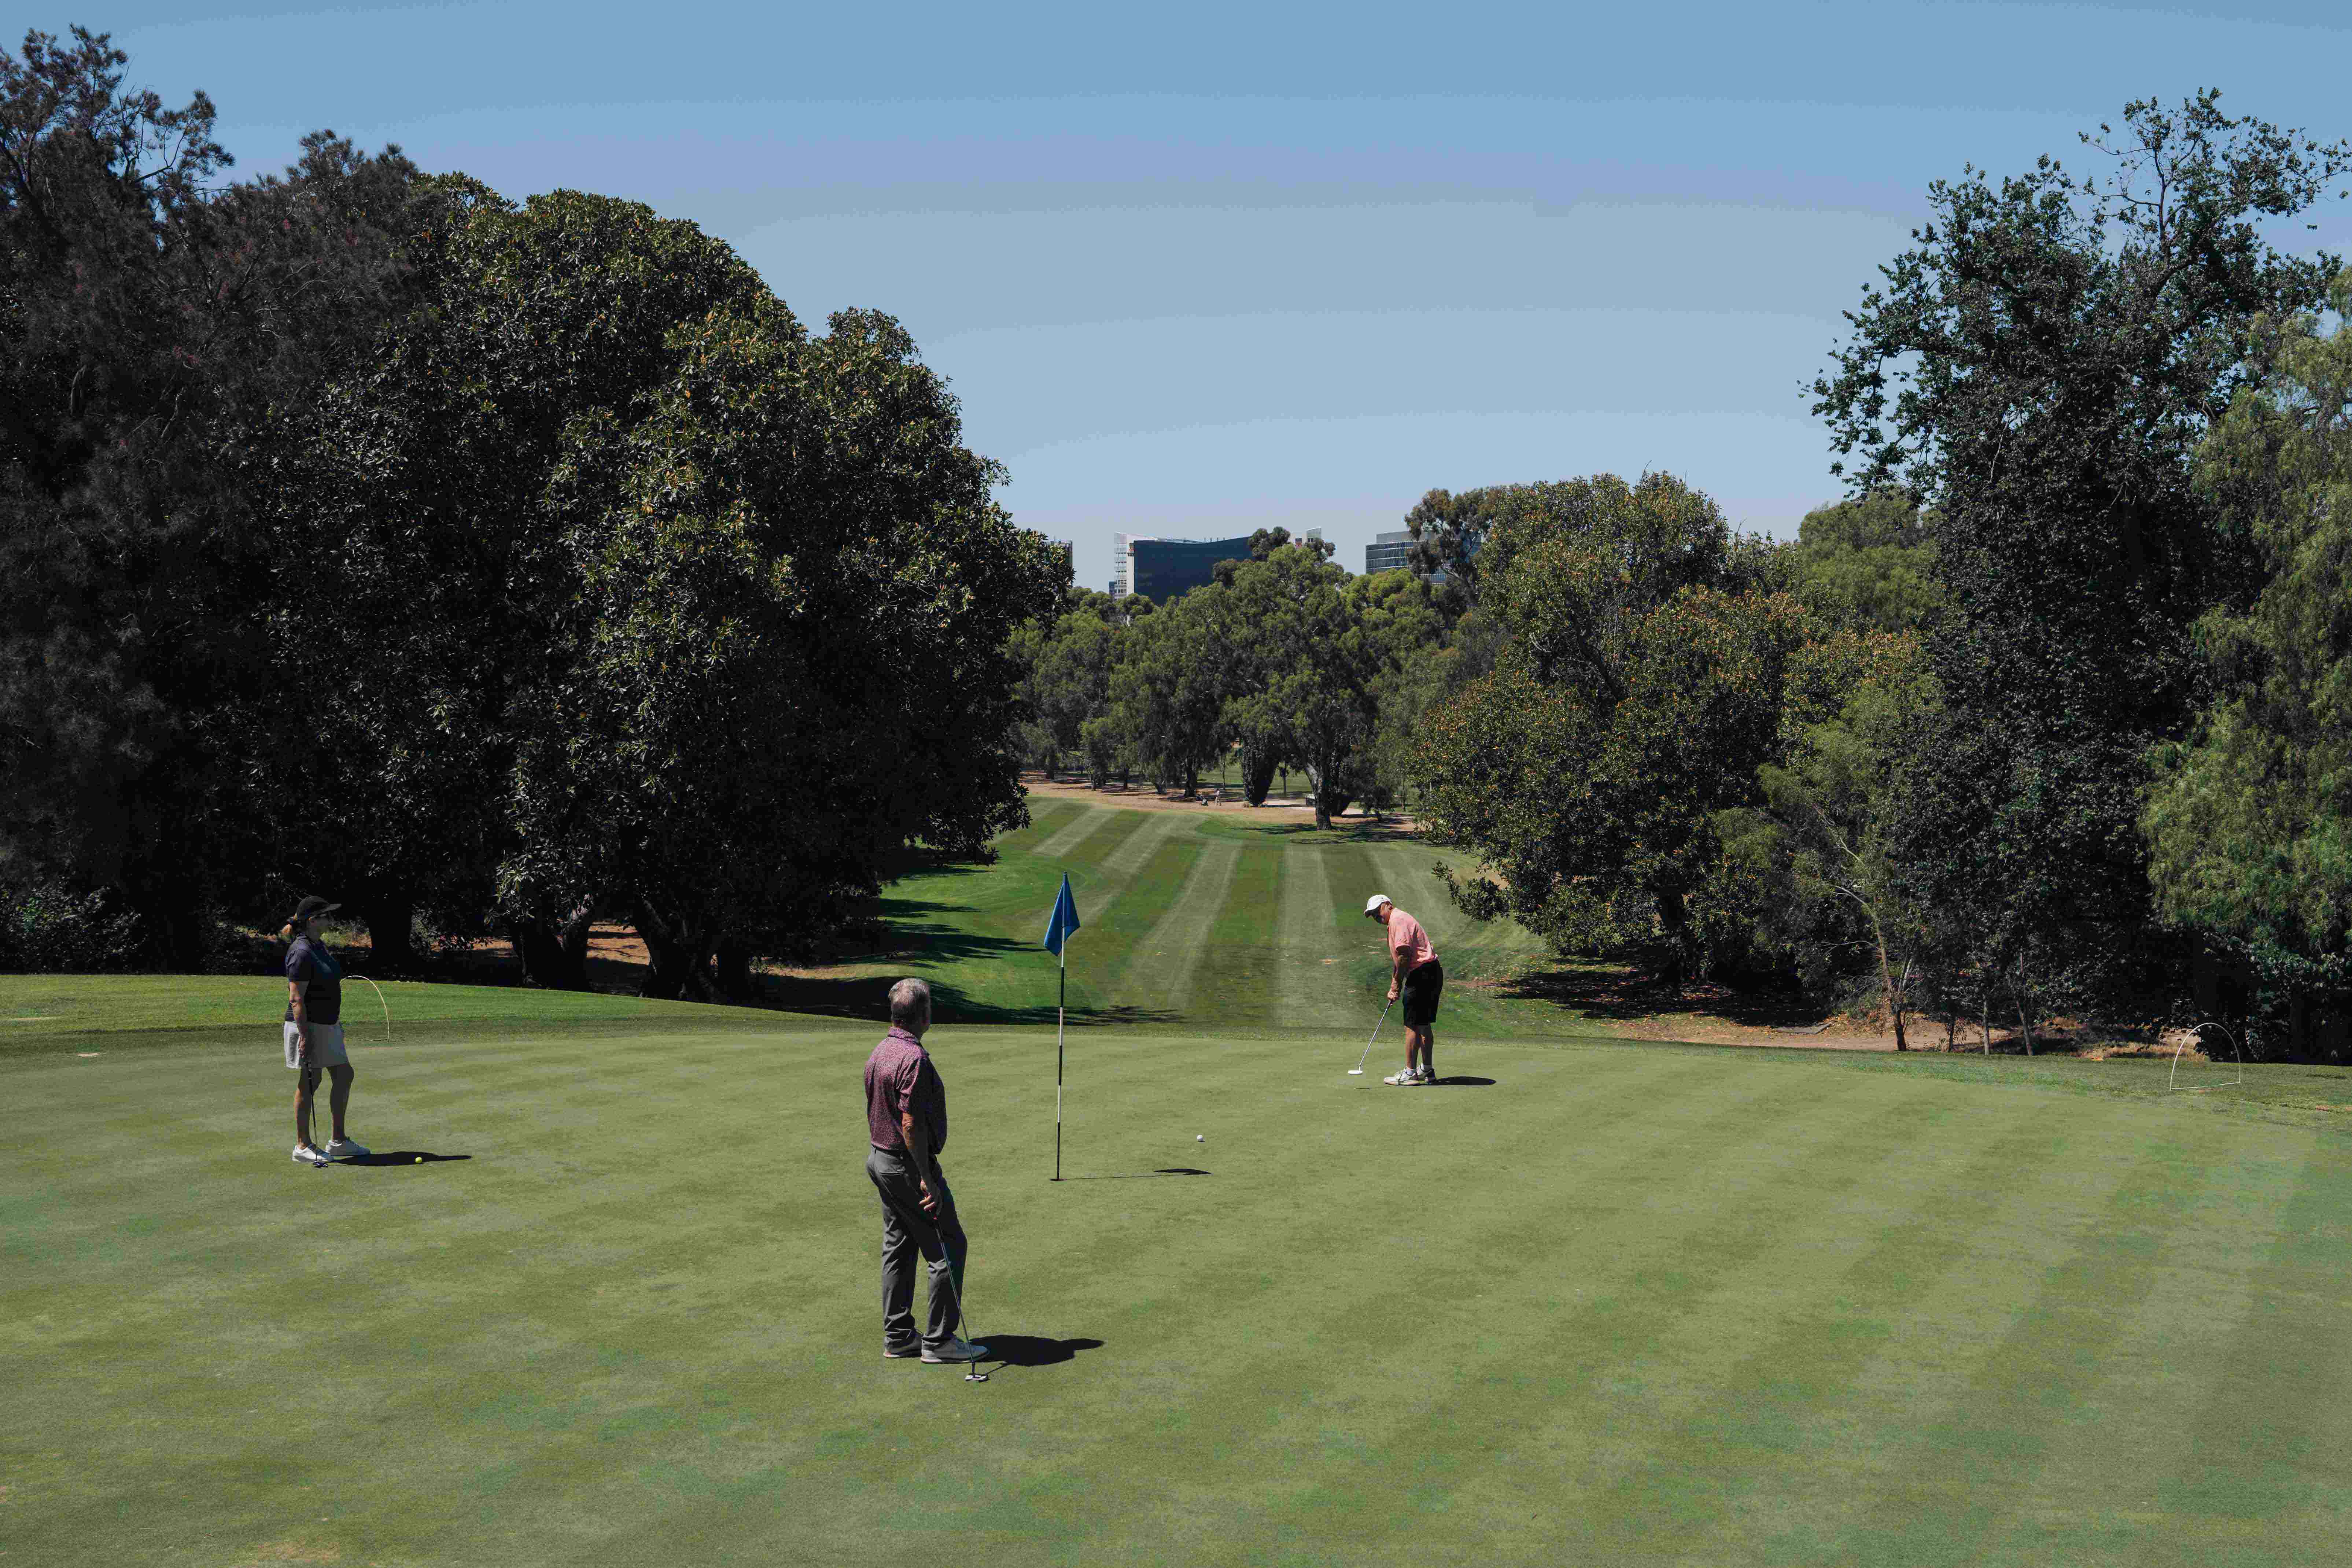
Epic views
Tree-lined course with Bent Grass greens, you'll get a reliable and true putting surface all four seasons, how good!
Slope rating
An above-average Golf Australia slope rating of 122, the South Course comes with a steady learning curve.

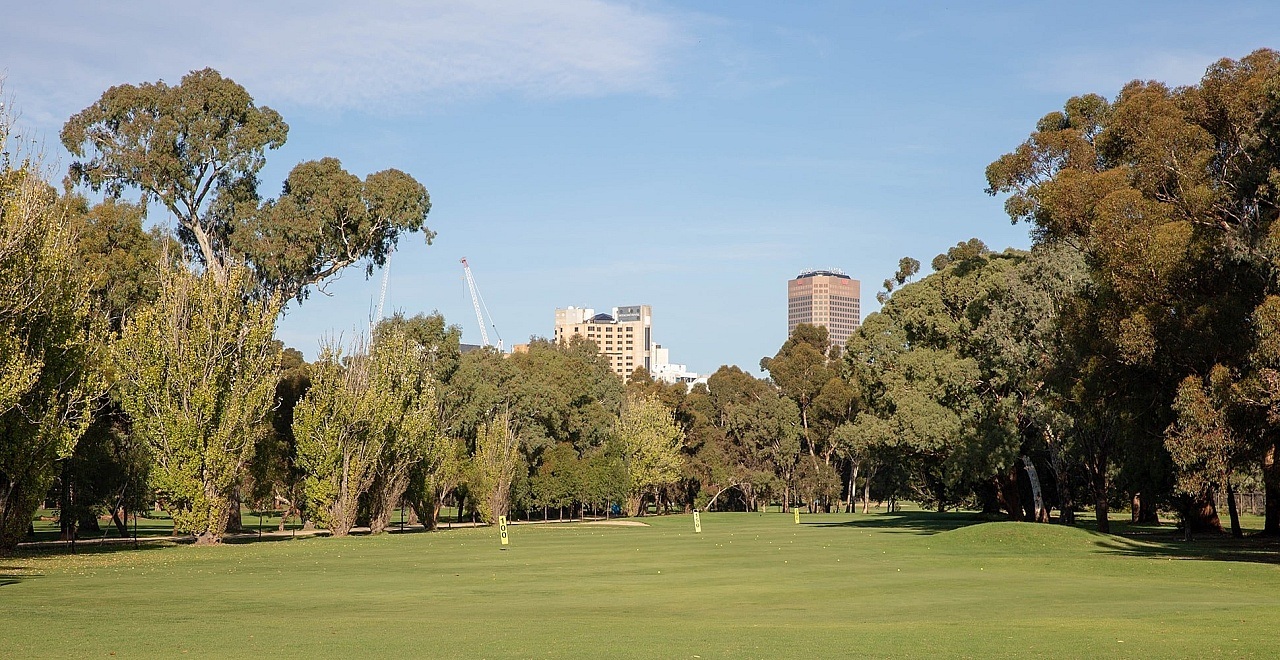
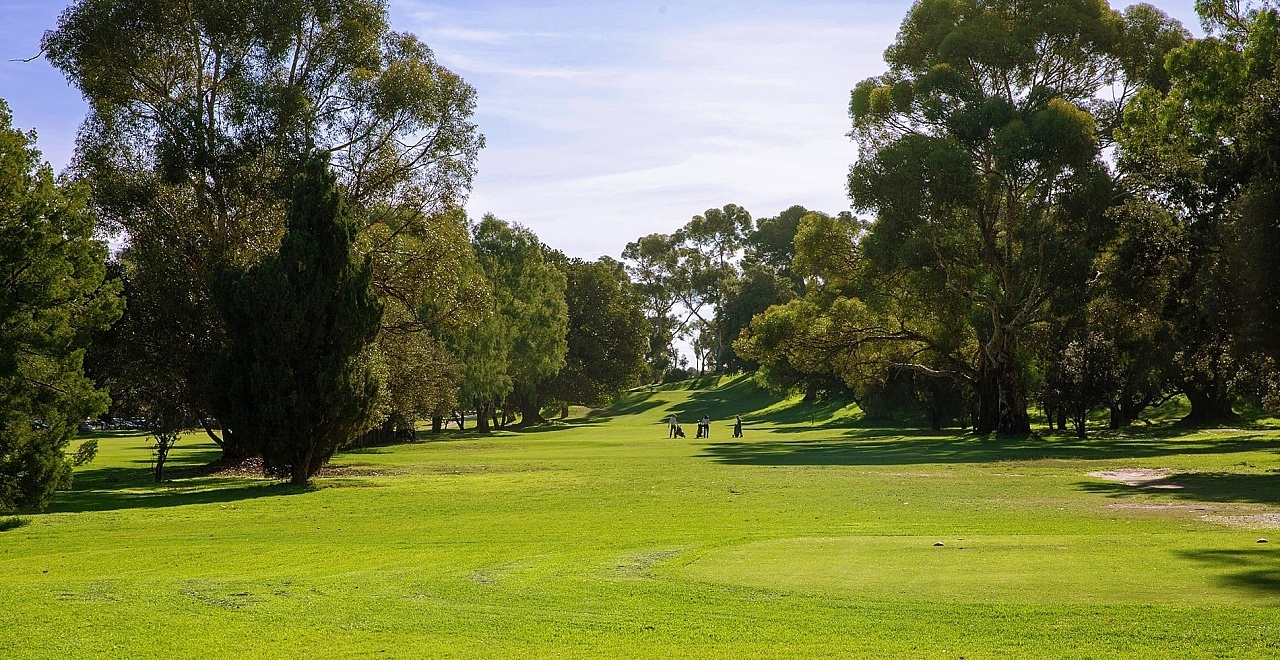
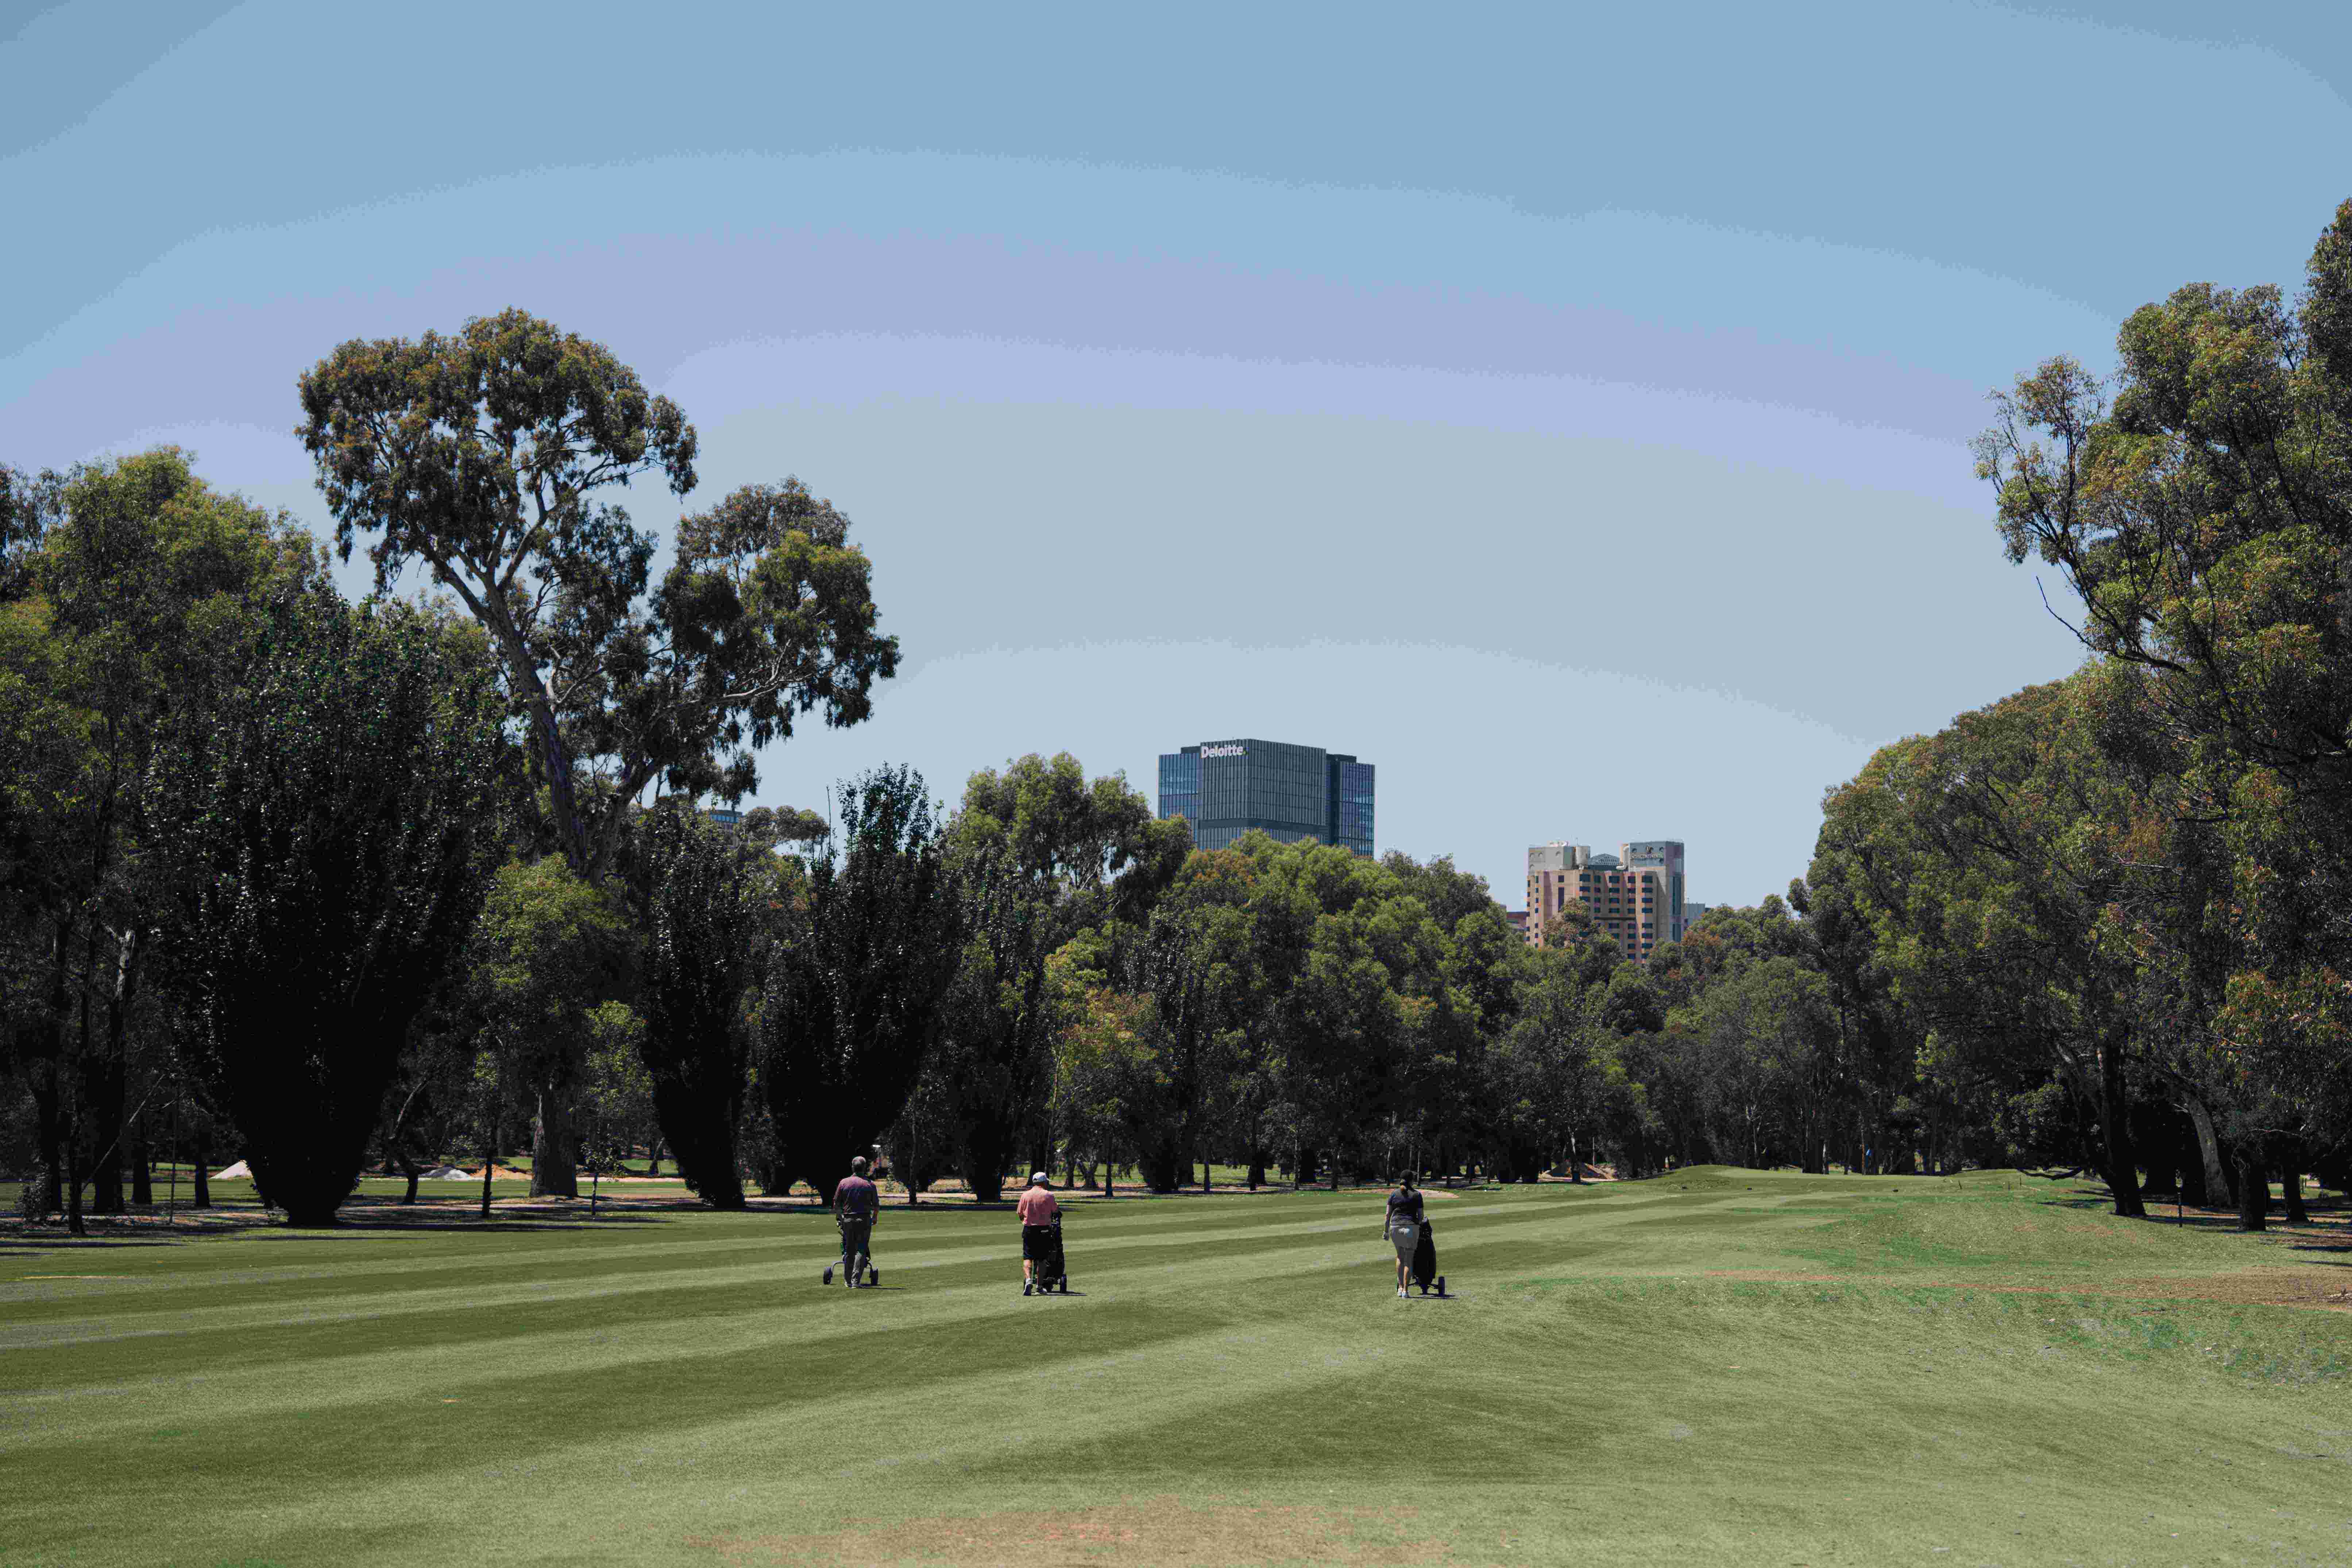
Golfing in the Adelaide Park Lands
You'll play on Kikuyu fairways and Santa Ana Couch tees – hot-weather grasses that hold up all year round. And the dense thin blades of Bent Grass greens give you a felt-like smoothness to your putt.
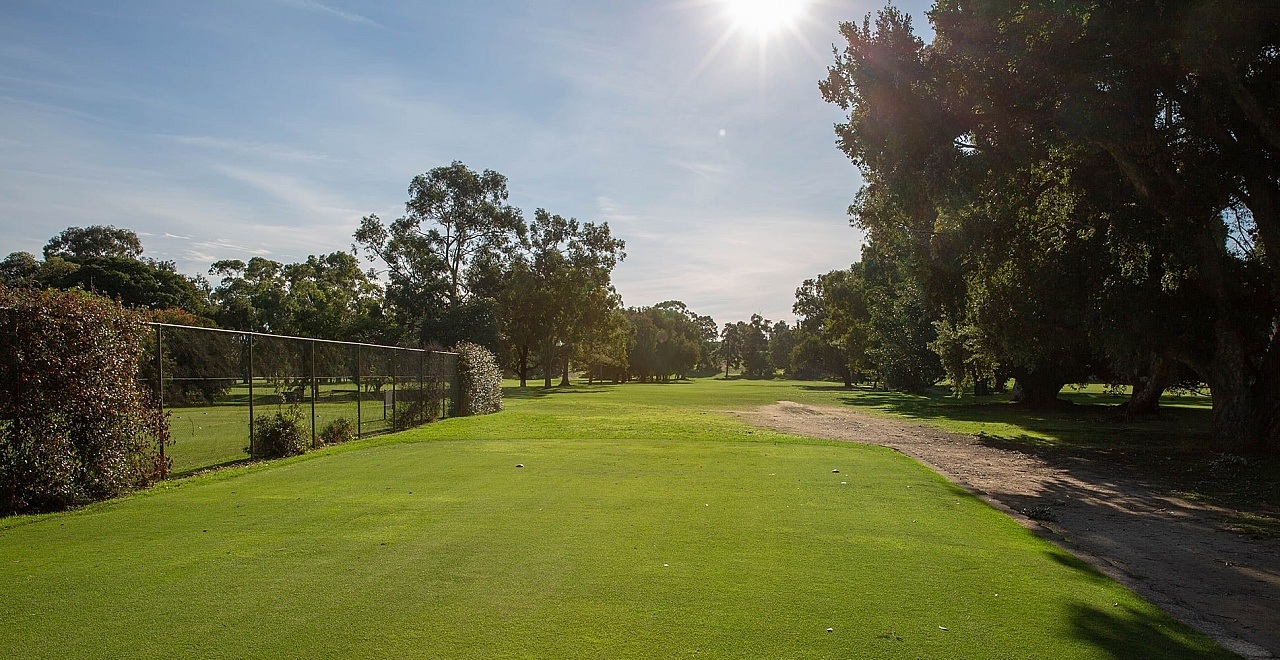
Mature Australian gum trees line the fairway, which punish a wayward drive, and keep you on the straight and narrow. Rolling bunkered greens ensure no hole approach shot feels too easy. And with no water hazards and little rough off the fairways, the South Course is simple to navigate. This makes for faster play and less lost balls.
Plus, you'll get your chance on short Par 3s (hole-in-one anyone?) and genuine 3-shot Par 5s to vary up the pace.
Don't forget - all players must have their own set of clubs.
The front 9
A picturesque opening hole.
The tee shot should be taken as close as possible to the left-hand fairway bunkers. This will open up the line into the small green and avoid the trees short right of the green.
A good opportunity for an opening par and an easy way to ease yourself into the round.
347 metres. Stroke Index 10.
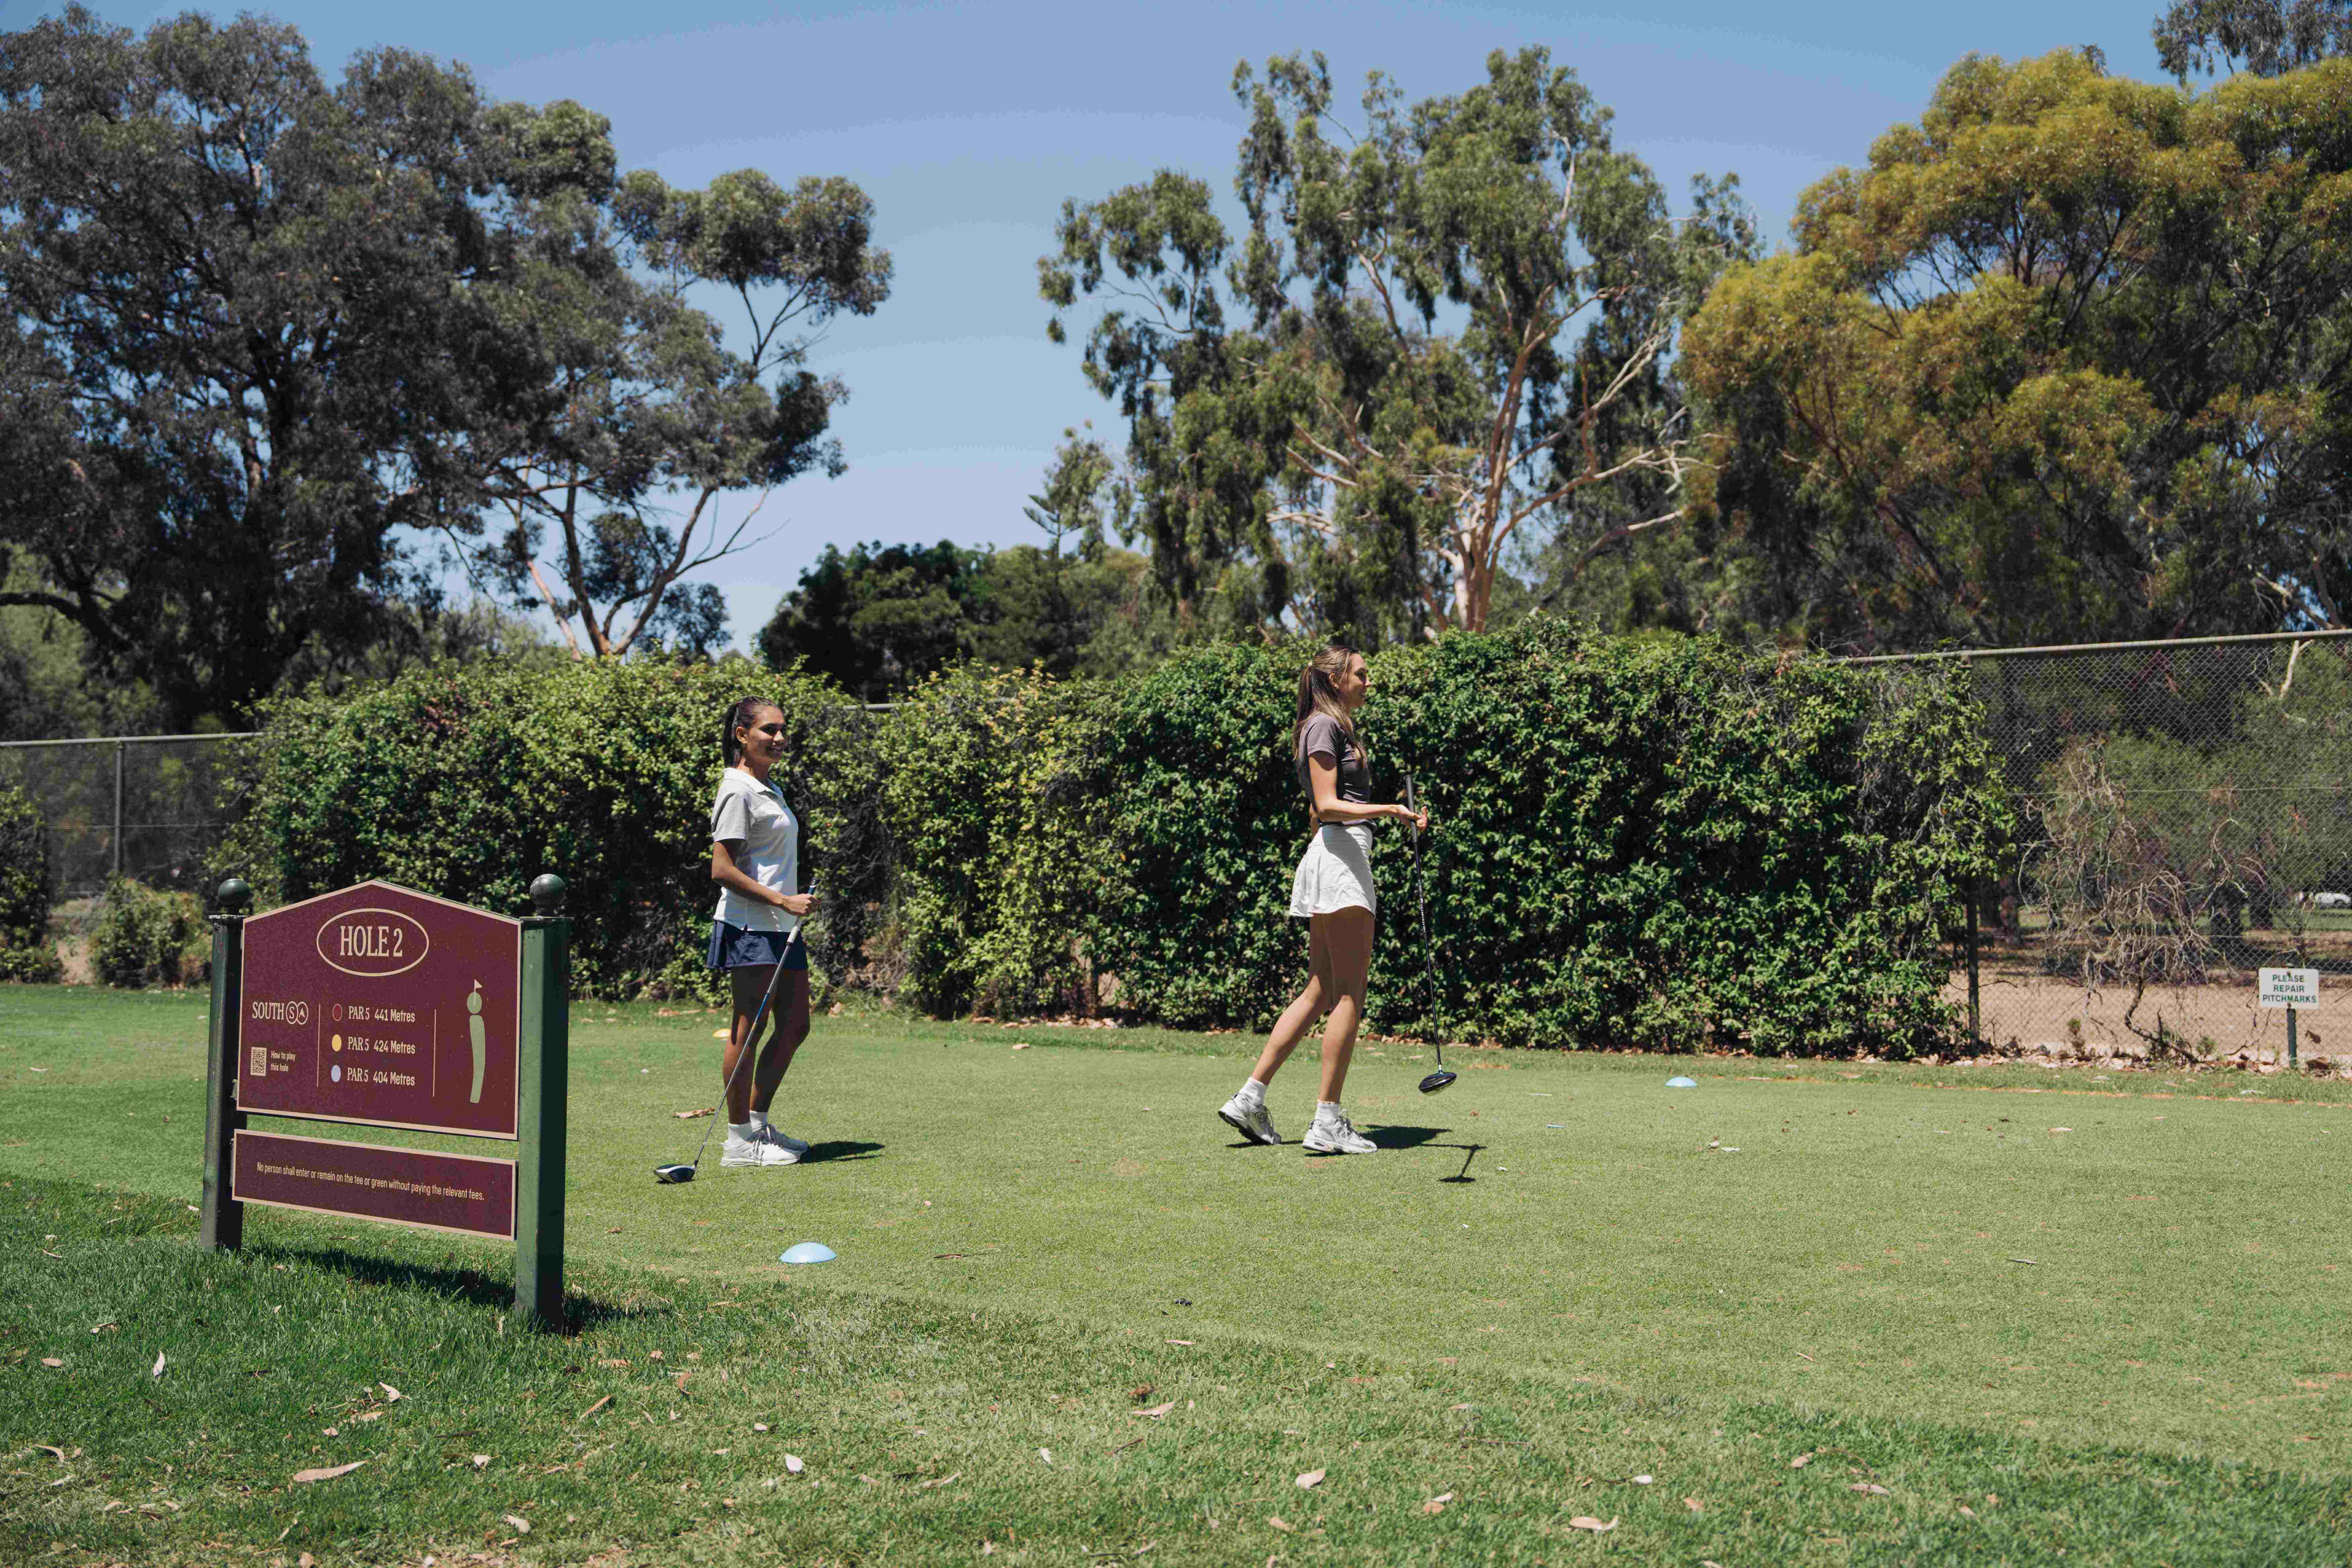
A short Par 5, reachable in two shots for the longer hitters.
Drive the tee shot and second shot down the right-hand side to ensure a clear view of the elevated putting green for the third shot.
Make sure you’ve taken enough club on the approach shot. The hill in front of the green loves to return the ball to your feet.
441 metres. Stroke Index 7.
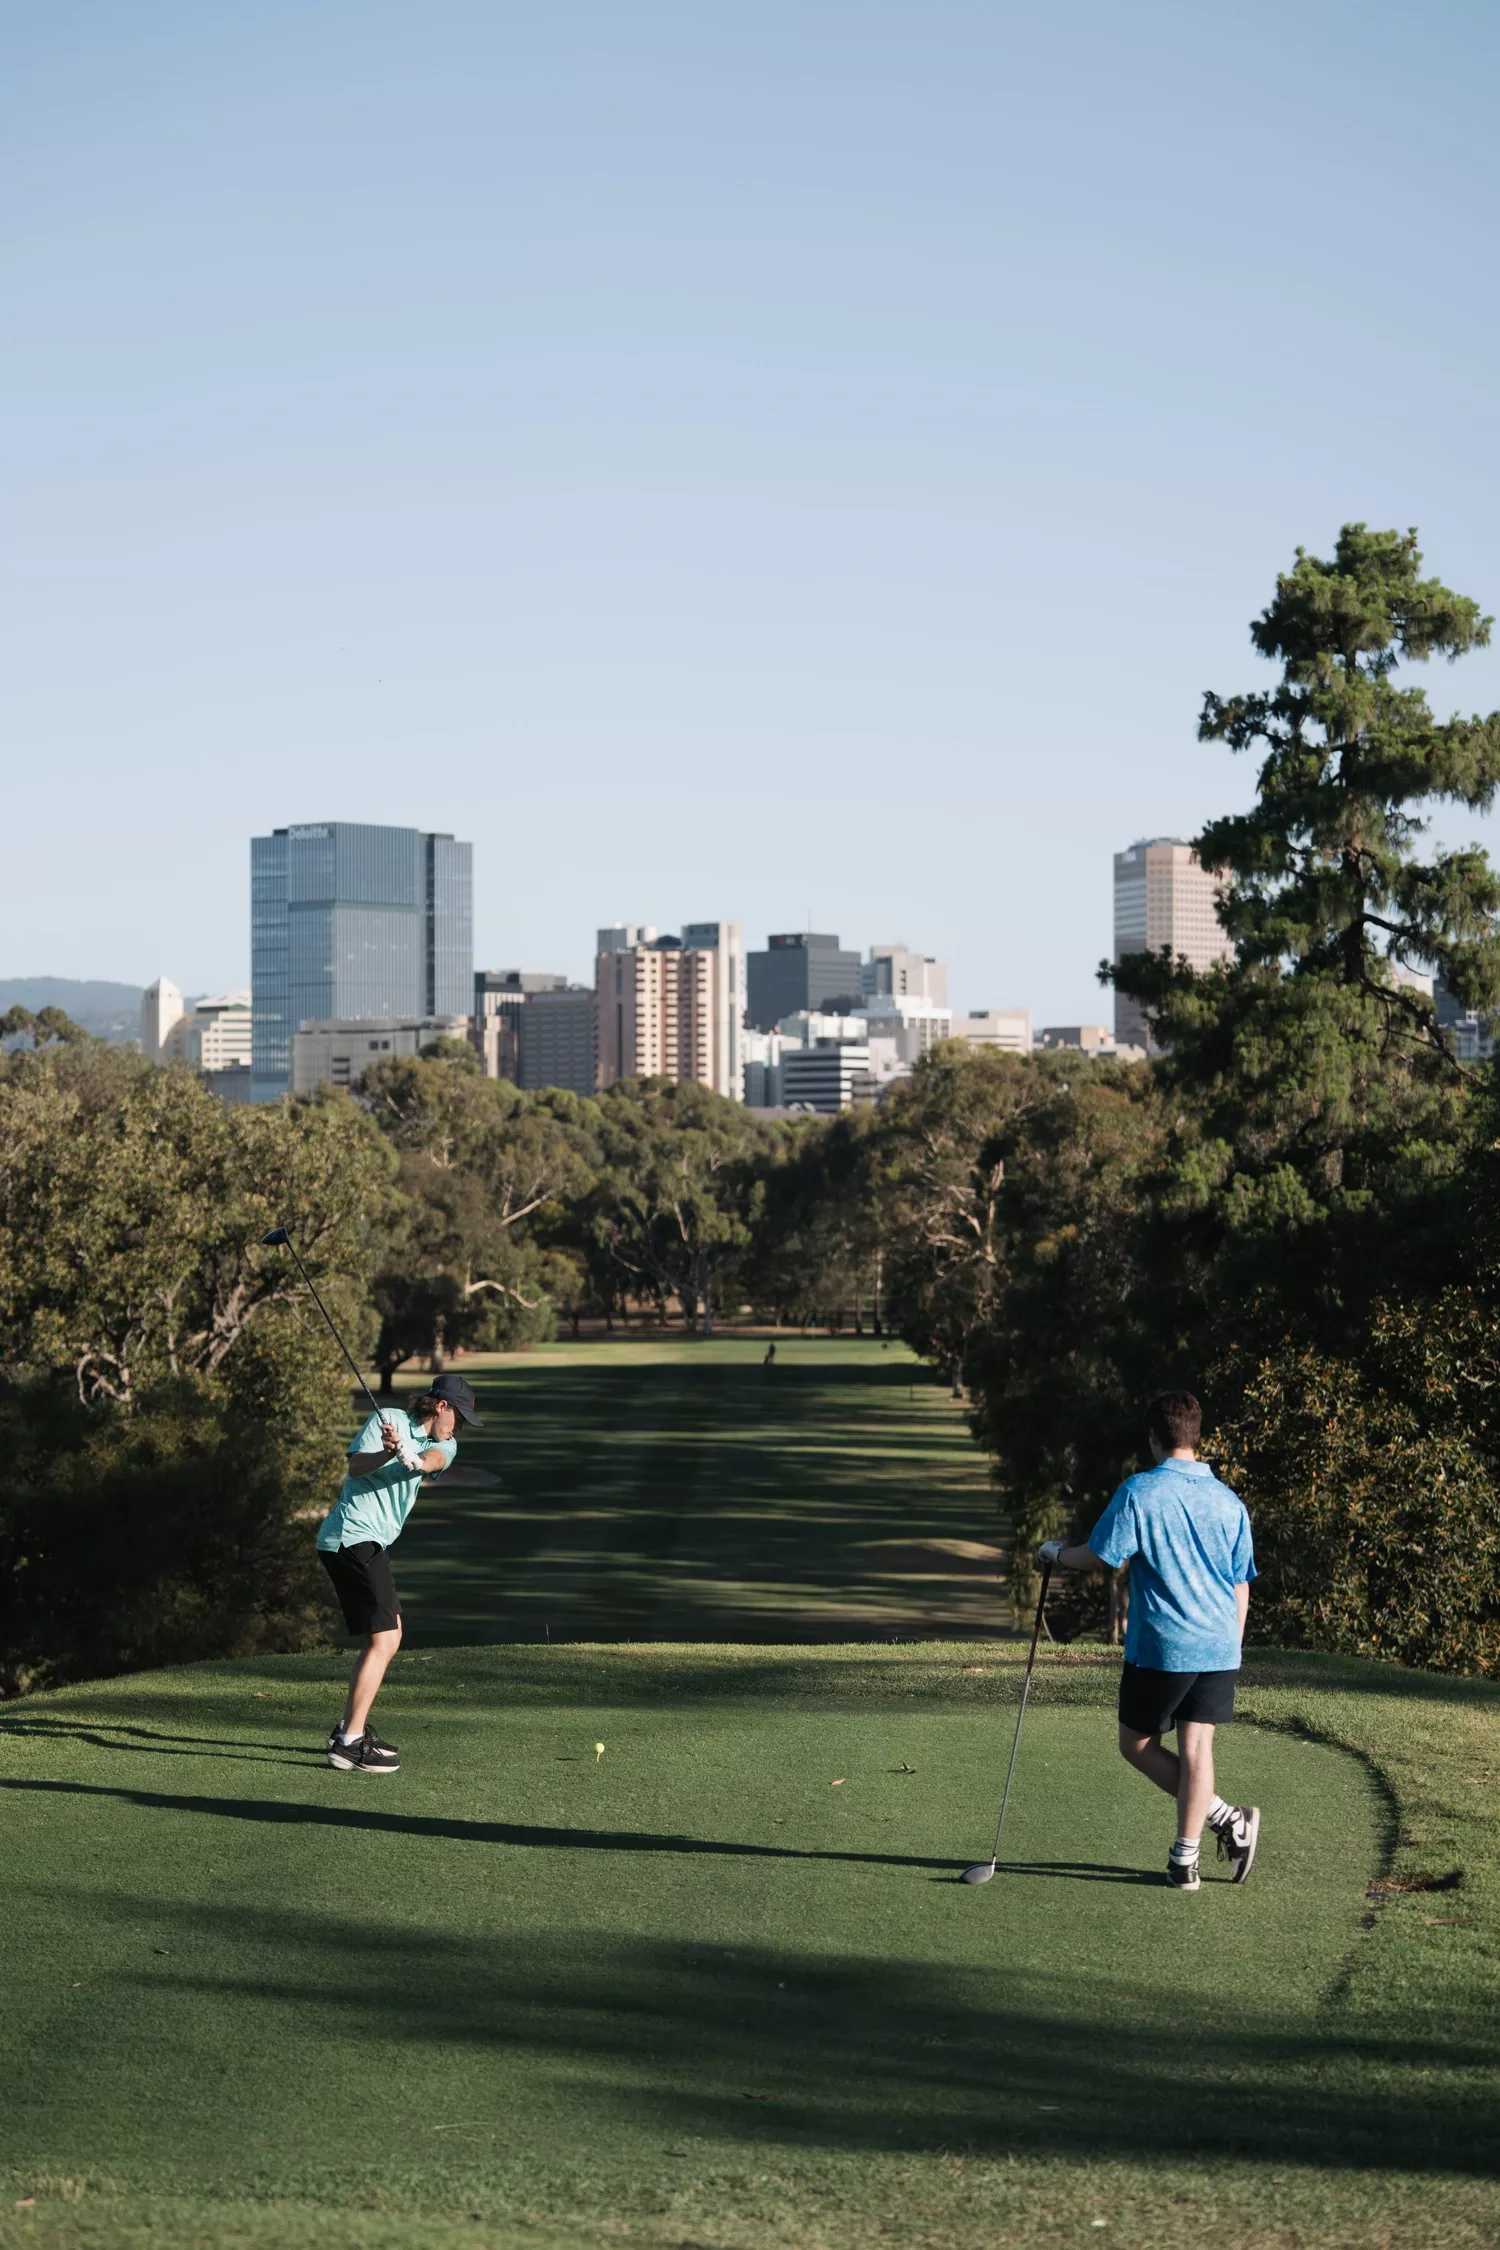
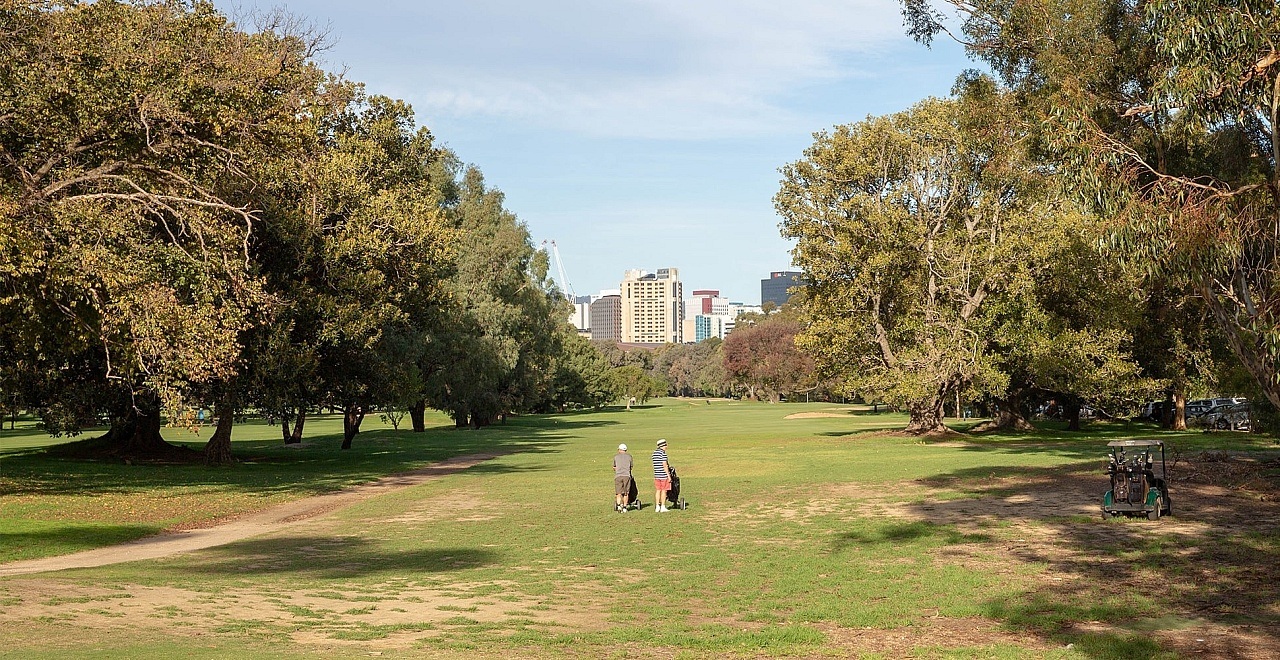
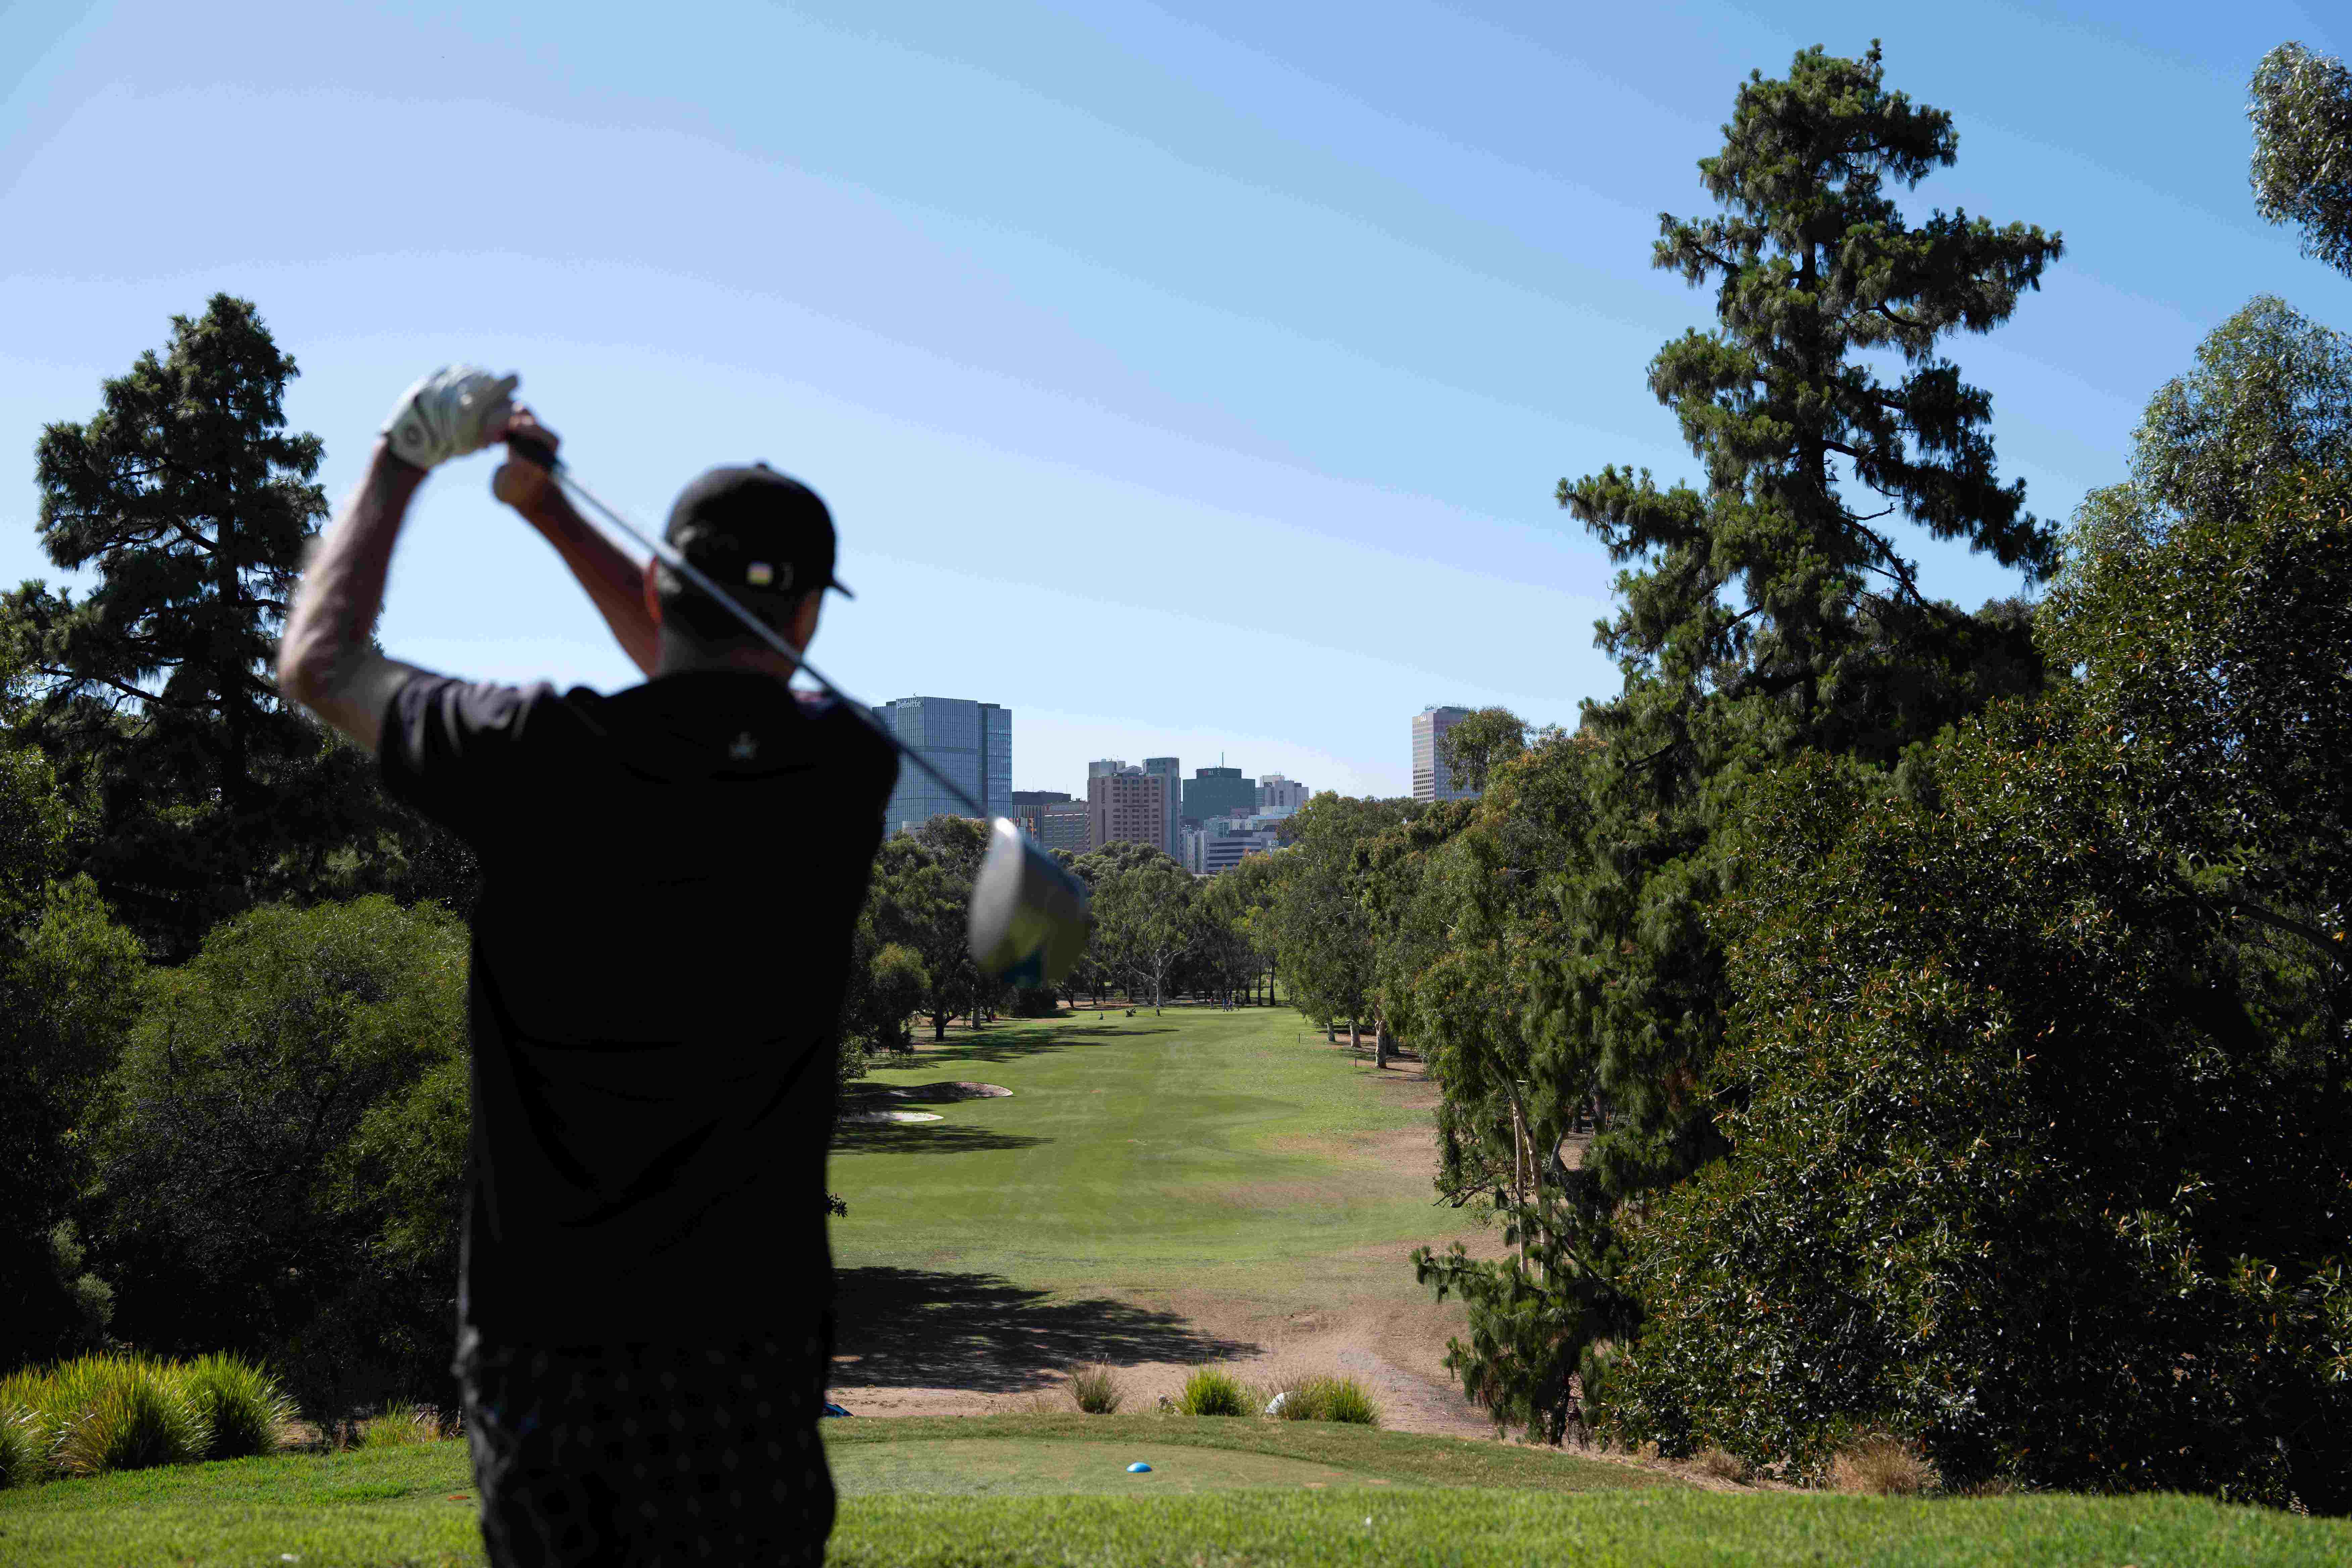
The South Course's signature hole.
Postcard views greet the player from the tee, a long par 4 with the best city backdrop in the country.
Two fairway bunkers await a tee shot down the left-hand side. Once you’ve negotiated these, a solid mid to long iron will see you safely on the putting surface.
399 metres. Stroke Index 2.
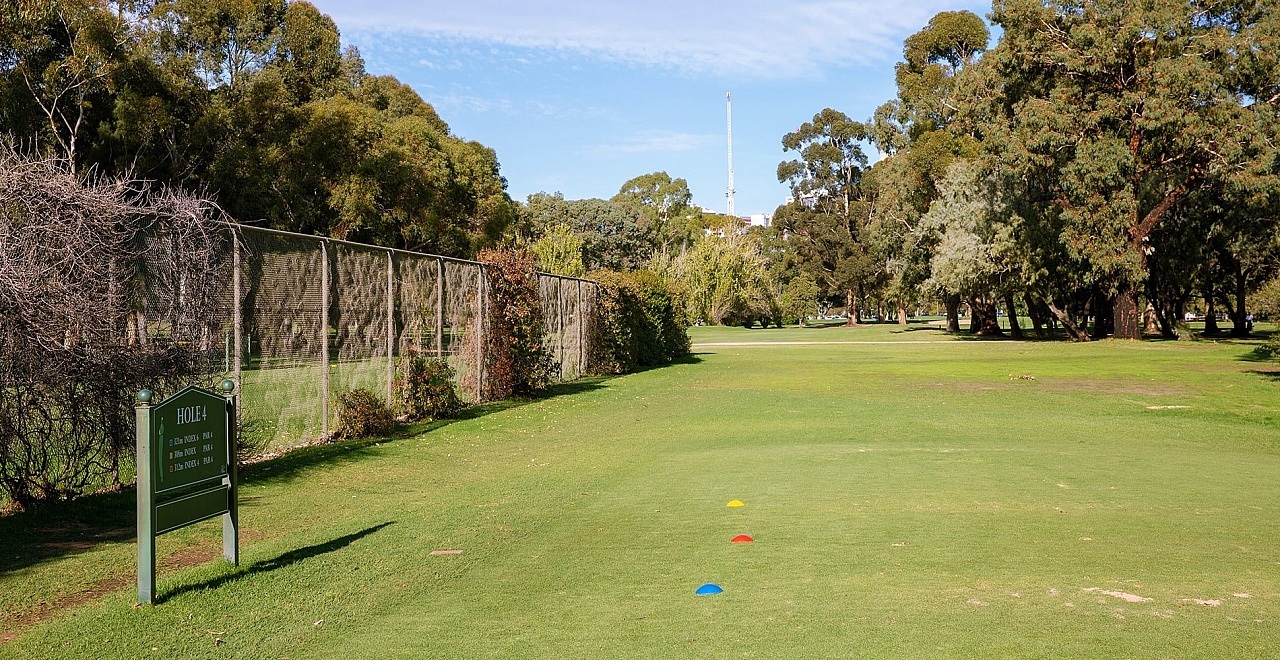
A good birdie opportunity, the fourth hole is all about placement.
The hole moves from left to right around the tree line, and a tee shot anywhere left of centre will leave you having to negotiate the huge gum tree strategically placed within the bunker short of the green.
3-wood or hybrid may be good option off the tee here to help setup a clear line to the pin.
321 metres. Stroke Index 9.
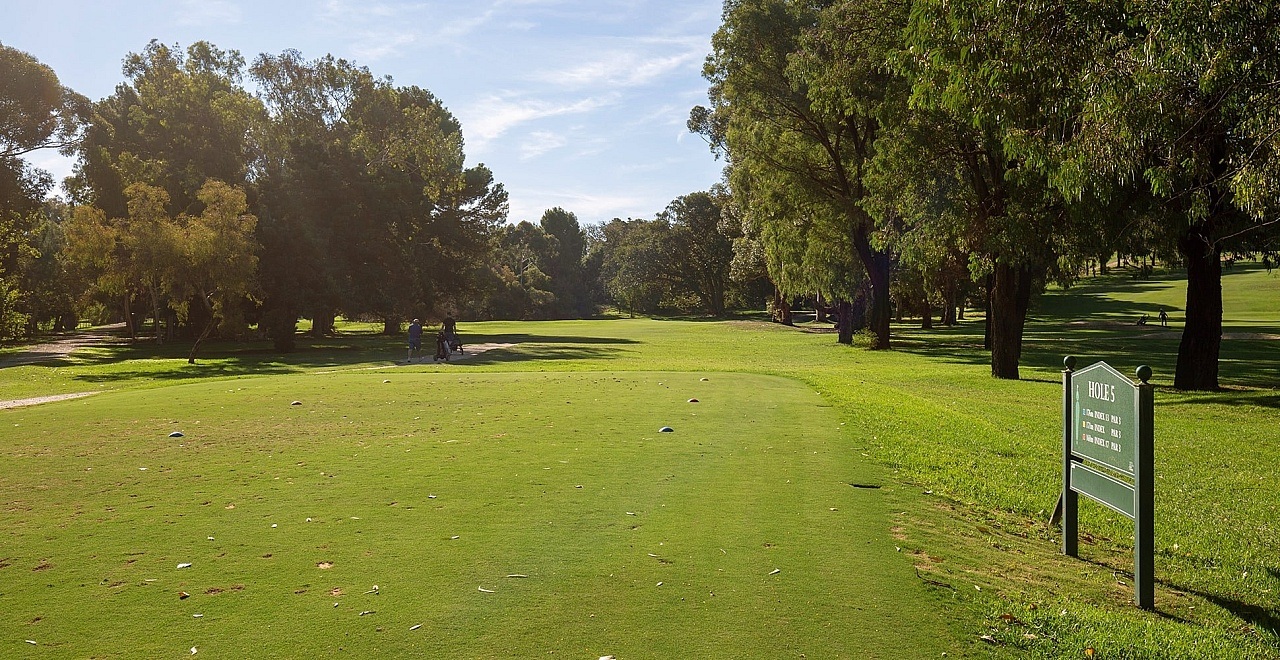
The longest par 3 on the course.
The 5th hole requires a solidly struck long iron, hybrid or fairway wood to get it home. The putting surface doesn’t present too many challenges so it’s all about getting it close from the tee.
176 metres. Stroke Index 17.
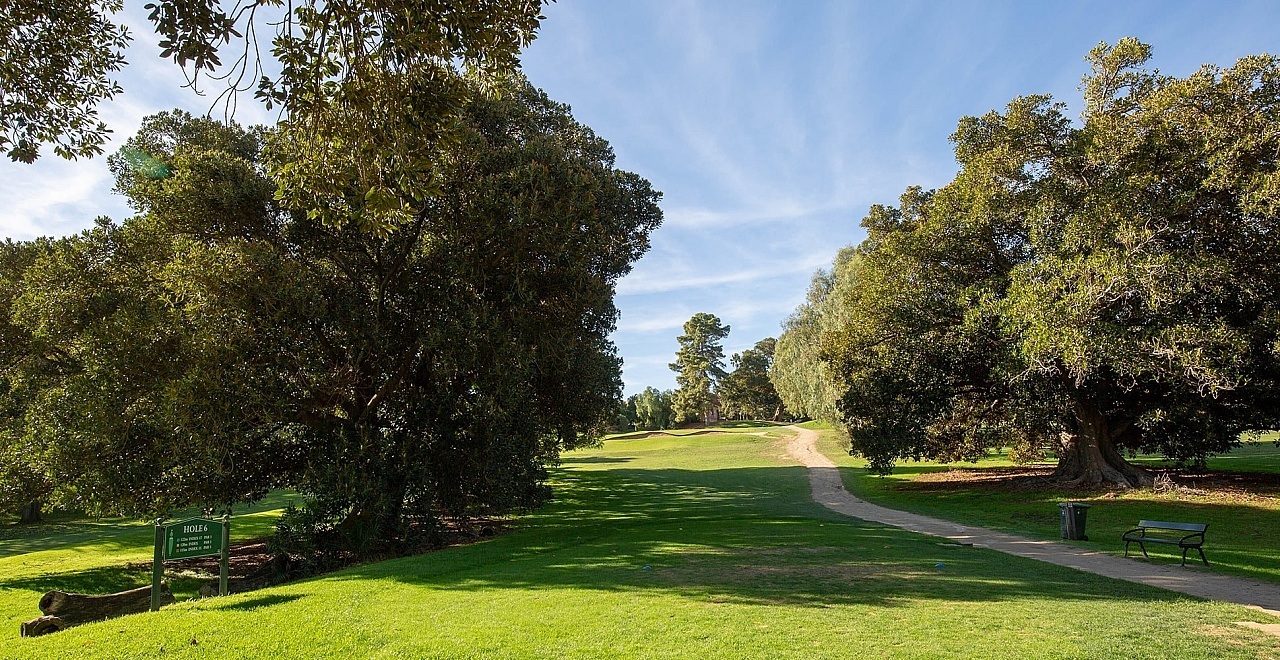
A short, uphill Par 3 to a well-guarded putting surface.
Bunkers protect the green short and left, making club selection crucial. Unable to see the base of the flagstick from the tee, anything short of the green will often spin back into the front bunker.
The green slopes from back to front and you should aim to keep the ball below the hole to improve your chance of making the putt.
111 metres. Stroke Index 18.
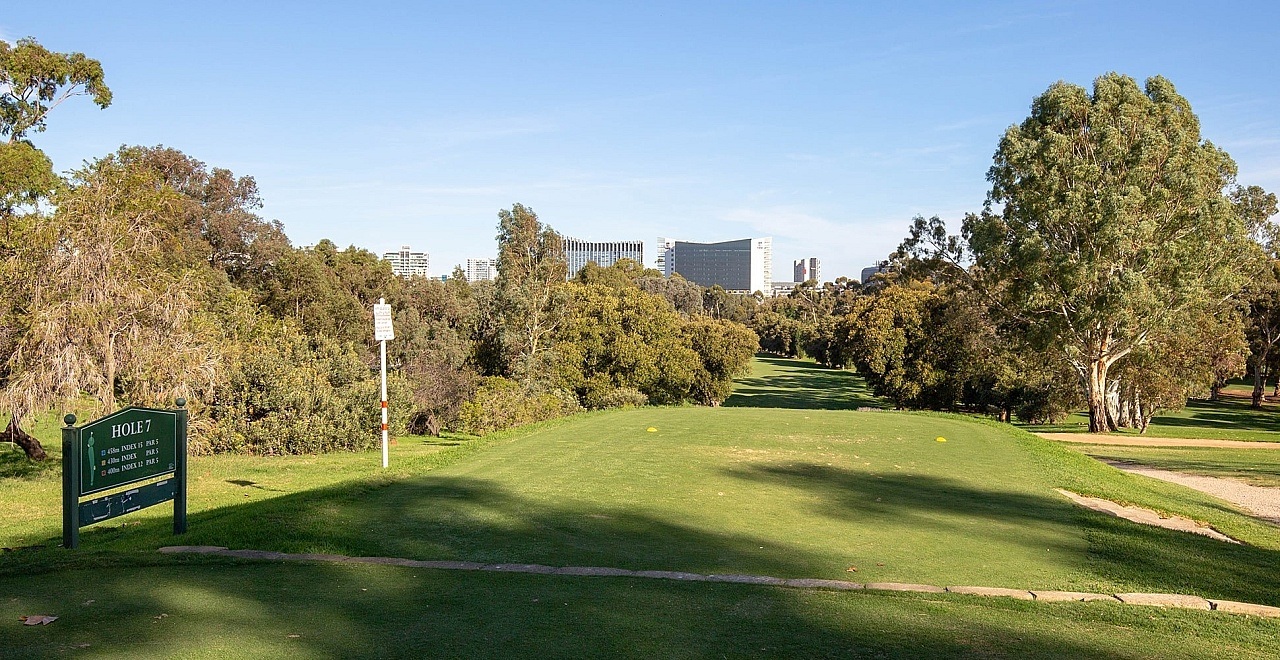
A good birdie opportunity for you long or straight hitters. Adelaide Oval to the left, the city straight ahead, time to “let the big dog eat”.
Out of bounds borders the left-hand side of the fairway all the way to the green.
Two fairway bunkers, short and right of the green, wait to punish a leaking shot right. A greenside bunker short left forces you to carry the ball all the way onto the green.
473 metres. Stroke Index 6.
A par here is very well earned.
The 8th has a wide driving zone, tempting you to open the shoulders once again.
Pin point accuracy is required on the second shot to a small, elevated green. Any shot missing the green will leave you with a tricky uphill chip or flop shot with little green to work with.
362 metres. Stroke Index 3.
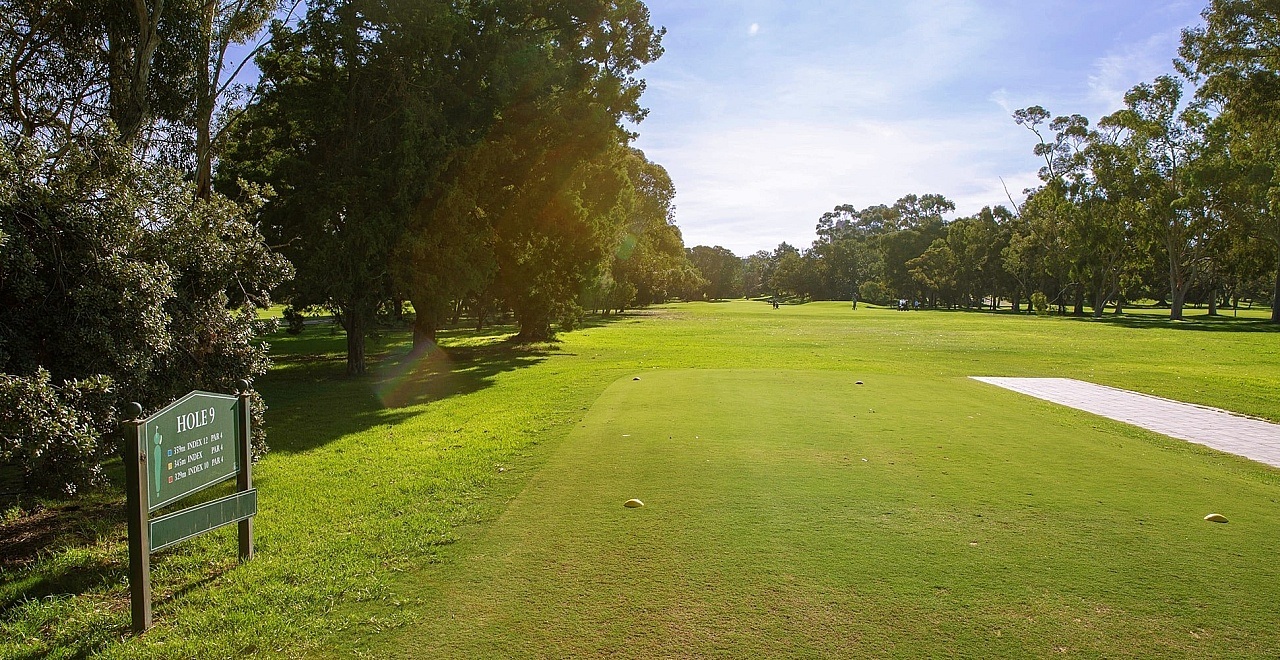
A short Par 4 with a good birdie opportunity to close out the front nine.
A straight drive and an accurate iron will leave a relatively easy putt to get one back.
359 metres. Stroke Index 13.


The back 9
One of the tightest driving holes on the course.
A Fairway wood or Hybrid is often the best option from the tee on the tenth. From the middle of the fairway, accuracy is again required to hit the long, slender green.
Heavily banked to the right and sloping away on the left, short is the only spot to be if you are going to miss this green.
329 metres. Stroke Index 5.
Out of bounds, and bunkers to the right, force you to rethink your club choice off the tee on the eleventh.
A pot bunker on the right in the driving zone encroaches onto the fairway, narrowing the landing zone considerably.
Once you’ve negotiated these hazards, it’s only a short iron to the green and hopefully a good birdie or par opportunity.
345 metres. Stroke Index 8.
A deceptive, short Par 3 with a large ditch short of the green.
While only requiring a short iron to get to the green, trouble awaits left and right with two large bunkers. Short and long of the green is also less than desirable.
A green in regulation here often results in a sigh of relief.
132 metres. Stroke Index 16.
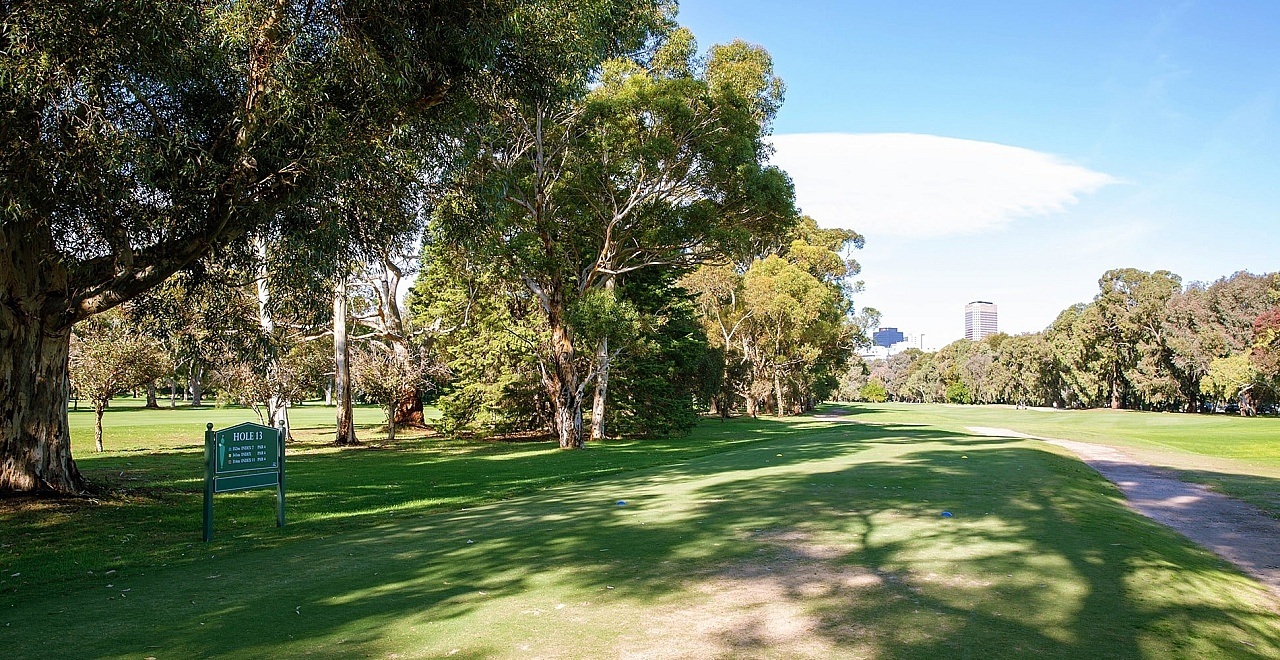
A hole where it’s just as easy to make birdie as it is a double bogey.
The 13th moves right to left, with two large fairway bunkers on the right waiting to catch a ball that doesn’t turn over. The second fairway bunker is deep and makes for a difficult approach.
The shape of the fairway funnels most balls into the middle, providing a clear line to green and taking the bunkers right and left out of play.
352 metres. Stroke Index 11.
Par is a good score here.
There’s little advantage in taking a driver from the tee on the 14th. Any tee shot left of the fairway's centre will force you to carry the Morten Bay Fig tree short of green, and Out Of Bounds to the right will punish the over-compensator in you.
The approach shot is not without danger to a raised putting green that falls sharply away on both sides.
308 metres. Stroke Index 12.
Three pot bunkers in the driving zone force you to flirt with danger if you want a chance to reach this green in two.
A tee shot finishing right of the centre of the fairway will block you out from the green, forcing a layup and pitch in. The second and third shots are all uphill, effectively adding distance to this Par 5.
A false front on the green makes club selection difficult and adds to the complexities of this hole.
421 metres. Stroke Index 14.
The prettiest – and most difficult – Par 3 on the course.
Starting from the elevated tee, face off against the large, heavily undulating green that sits at an angle to the tee bed. A large ridge runs diagonally through the green, separating it into two halves.
Give yourself the best chance of a par – ensure your ball finishes on the correct section of the green. Three putts are very common.
153 metres. Stroke Index 15.
Coming down the stretch, you're greeted by the hardest hole on the course.
A driver or fairway wood to the hill top will leave a hybrid or long iron downhill from a sloping lie to a small green. For brave souls, you can short cut this hole. An aggressive tee shot, right of the pine tree on the corner, can mean as little as a sand wedge left to reach the green.
A true risk and reward hole. Be warned, a double bogey is easy work.
381 metres. Stroke Index 1.
Bringing the round to a close is a mid-length par 4 that doglegs to the right.
It’s best to place the tee shot just in or slightly short of the bend in the fairway to make the most of the larger landing zone.
The second shot is to a small elevated green that requires accuracy and precise club selection to give you the best opportunity for par.
319 metres. Stroke Index 4.
South Course pricing
Save $3.00 per round when you book online.
| Pass | Price |
|---|---|
| 18 Holes Weekend & Public Holidays | $47.50 |
| 18 Holes Weekday | $37.00 |
| Concession / Child 18 Holes Weekend & Public Holidays | $38.00 |
| Concession / Child 18 Holes Weekday | $31.00 |
| Twilight | $28.00 |
| 9 Holes Weekend | $34.00 |
| 9 Holes Weekday | $29.50 |
You should know
- A child is a person under 18
- Twilight is available from 3:30 pm during Day Light Savings only
Opening hours
The South Course is open every day except Christmas Day.
Our opening hours change with the sun, with earlier opens in summer, and later starts in winter.
Getting to the South Course
The South Course is a short drive from Adelaide CBD.
Easiest way to get here from the city is to head up Montefiore Road and along Strangways Terrace.
South Course
Strangways Terrace
North Adelaide, South Australia 5006
Magnificent city backdrop in pristine condition
You may also know South Course as the home of the annual Lord Mayor’s Golf Trophy.
It has also hosted PGA Pro-Am events, the Aaron Baddeley International Junior and the Jack Newton Junior Invitational state qualifiers.
We’re a public course, welcoming all players. Dress code? Keep it neat and tidy with closed-toe shoes. No singlets or thongs, please!
Find the South Course (it's marked as S1–18).

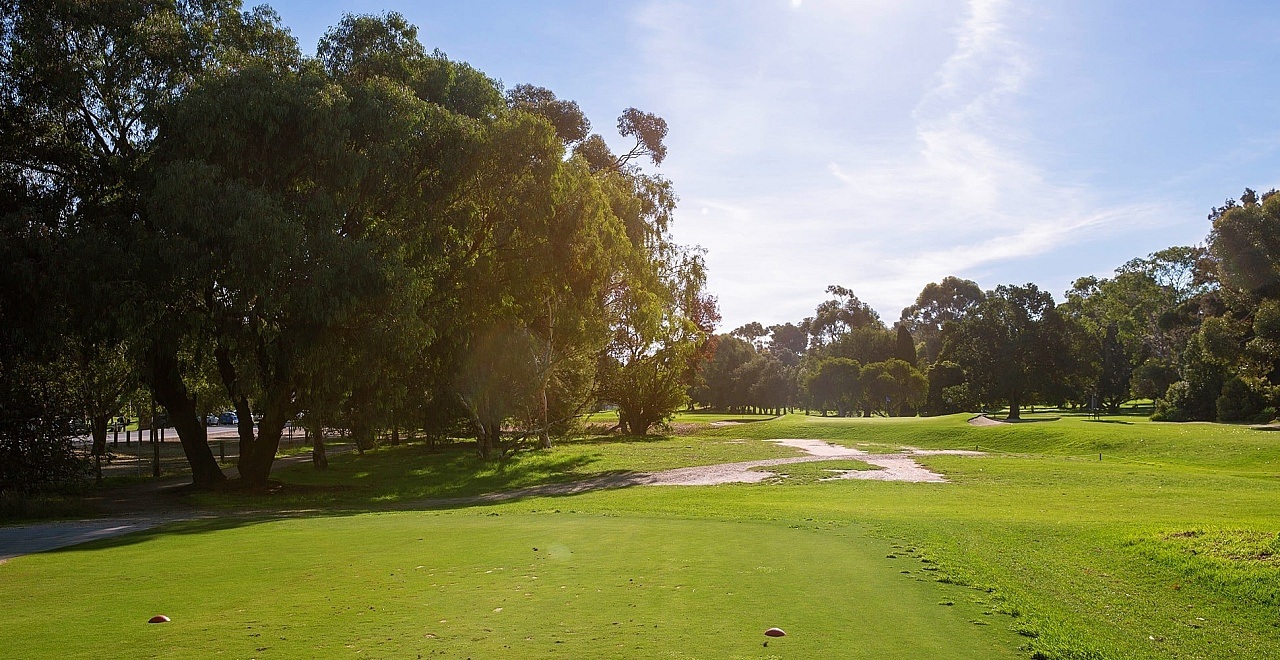
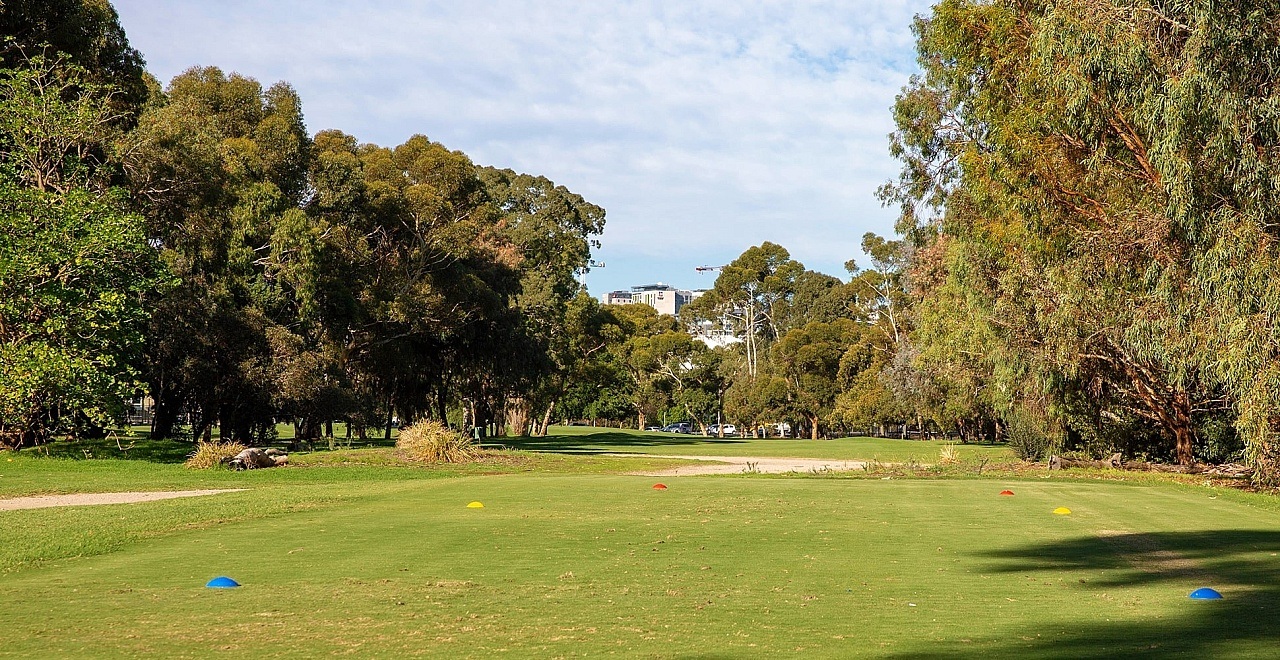
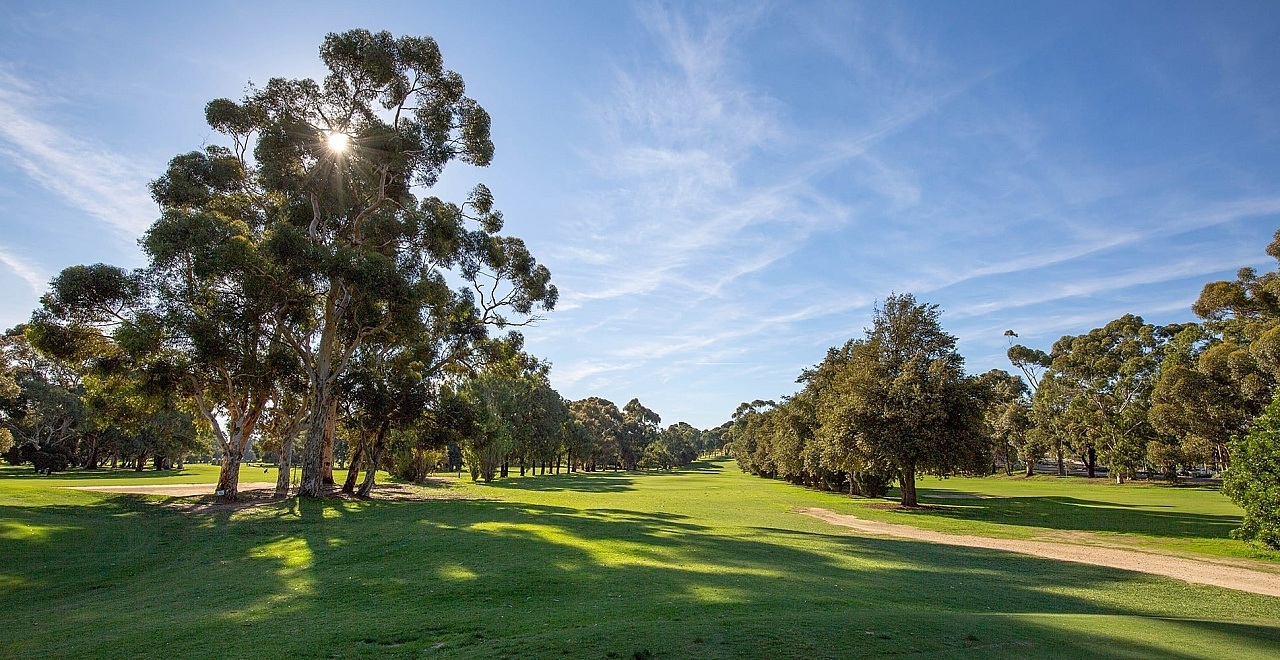
Photo gallery
South Course >> Gallery >> Listing >> Image
South Course >> Gallery >> Listing >> Image
South Course >> Gallery >> Listing >> Image
South Course >> Gallery >> Listing >> Image
South Course >> Gallery >> Listing >> Image
South Course >> Gallery >> Listing >> Image

The latest updates on the course redevelopment
Keep up to date with the latest news on the world-class public golf course redevelopment.